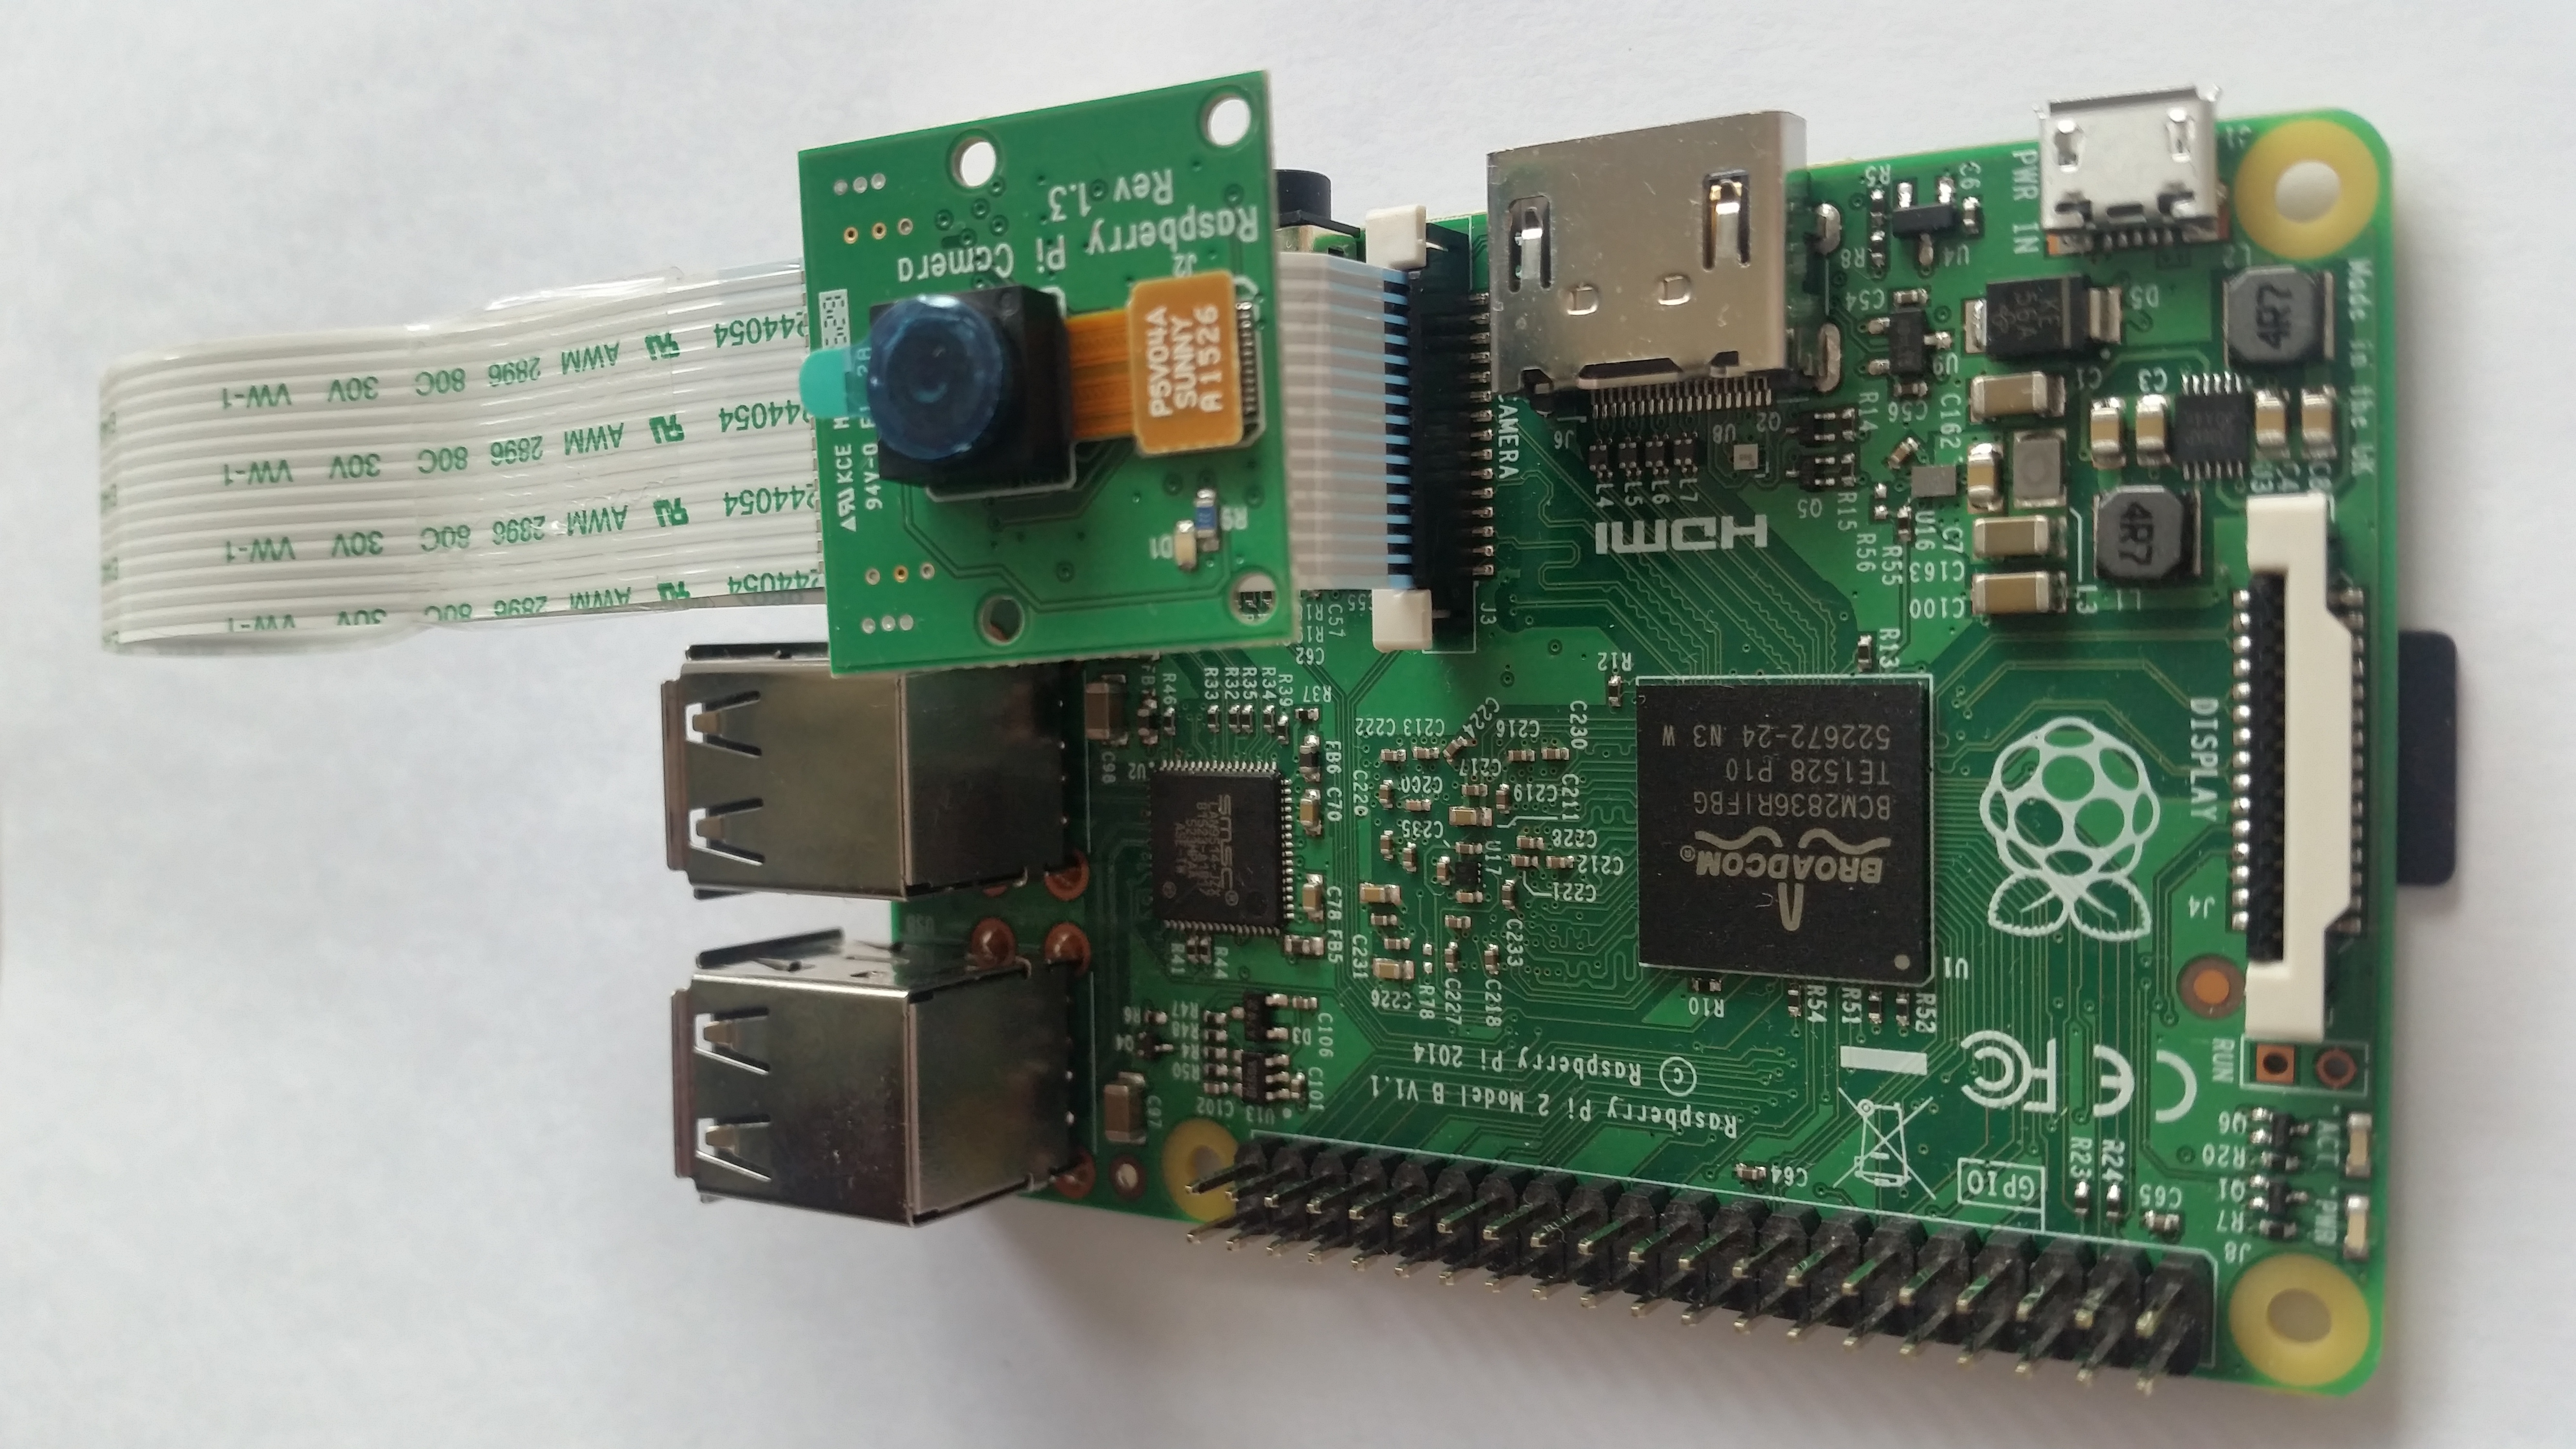
Secure Hardening a Raspberry Pi Server

Introduction

raspberrypi-logoRaspberry Pi is a low cost, high power and small size Linux Server or Computer. I foresee that it will become very popular in future, especially using in automatic controller aspect which is the next generation of computer world. An important topic for setup a raspberry pi server is about server hardening, which we have better setup a security server before explore it to www. I will introduce you the step by step security setup of Raspberry Pi which is installed with NOOBS O/S in the following.

raspberrypi-ssh

1. Initialize Setup Right After Installed NOOBS

Run the following command when first time successfully install and startup the NOOBS O/S:

raspi-config

Then, navigate the menu with the arrow keys, select things by pressing the enter key. Do the following:

  1. Change the Pi password
    We’ll be deleting the default “pi” user account later (for security) but right now, if you were connected to the internet your Pi would be susceptible to someone SSHing into it – because every Pi has the same default password. Better to change it now, before you’re connected, just in case.
  2. Disable “Boot to Desktop”
    Currently that means entering the “Enable boot to desktop” menu item and then selecting “no”. We won’t be using the desktop (we’re going to run headless), and disabling the boot to desktop option will free up some system resources so the Pi performs better.
  3. Update your Locale settings
    If you’re in the UK then it’s already set to use UK English in UTF8 – if not, pick the best choice for your location and if you can, a UTF-8 version of your locale. Also set your timezone (for me that’s Europe > London).
  4. Set your Hostname (Advanced > Hostname).
    Your ‘hostname’ is simply the name of the Pi itself, you can choose anything but don’t use special characters or spaces. So, for example, ‘webserver1′ might be good for you.
  5. Set the Memory Split (Advanced > Memory Split).
    The Pi’s GPU and CPU both share the same RAM modules (512Mb of it in current Pi models). As we won’t be running a desktop we don’t need the GPU to have much memory, so we can set it to 16 – leaving the rest of the RAM free for the system to use.
  6. Ensure SSH is enabled (Advanced > SSH).
    SSH is the protocol we will be using to access and control the Pi from another computer. It must be enabled for us to do that.
  7. Commit the changes and reboot
    Select ‘Finish’ – if it asks, yes you want to reboot. If it doesn’t ask to reboot then force a reboot so the new hostname and other changes take effect; type:

$ sudo reboot

Once it’s rebooted you’ll be prompted for the username/password. Use ‘pi’ and the password you just set up.

2. Security of User/Group Setup

Step 1. Creating a new user

To get rid of the default ‘pi’ user to make it harder for anyone. Firstly, we need to create a new user by typing the command with replacing your own username as USERNAME in the following:

$ sudo useradd -m -G adm,dialout,cdrom,sudo,audio,video,plugdev,games,users,netdev,input USERNAME

Next we set a password for the new user:

$ sudo passwd USERNAME

Complete the prompts as they appear. Now shutdown the Pi:

$ sudo shutdown -h now

The Pi will turn itself off. Un-plug the power, plug in the network cable, then plug the power back in. The Pi will boot up and leave you in a Bash shell asking for a login name: Log-in with your newly created user’s details (i.e., don’t log in as ‘pi’).

Step 2. Deleting the default ‘pi’ user (optional: as long as you are comfortable with the newly created user above)

Type:

$ sudo deluser –remove-all-files pi

This will take a little while and spit out a lot of lines of text – eventually it will say ‘Done’. The ‘pi’ user and it’s associated files are now removed from the system.

3. Updating the operating system and software

Connect to internet and update the system:

$ sudo apt-get update

Wait for this to complete; it’s just got a list of all the potential updates and new bits of software you could install. To upgrade all of the currently installed software type:

$ sudo apt-get upgrade

Wait for that to complete, answer any prompts with ‘y’ + Enter. Your system is now up-to-date.

4. Fixing your machine’s internal IP address

The default network ip address is using DHCP. If you are familiar with network address setup, you can change and setup from DHCP to STATIC type; otherwise, I advise you not change it, however, I suggest you bind the MAC address of Raspberry Pi to the router in order to get a fix ip address from the router all the time

  1. Find the MAC address of the Pi
  2. Set the router to always assign the same IP to any device with that MAC address.

Note: A MAC address is a unique identifier – any and all devices attached to your network have their own unique MAC address – think of it like a serial number; no other Pi (or other device) shares the same MAC address as yours. To find your Pi’s MAC address in detail, type the following command:

$ ifconfig

5. Securing Pi Connection with SSH

Using SSH key-pair authentication is more secure than typing a password to authenticate your user (i.e., to log-in to your Pi).

From Client Side, you can download puTTY and use it to connect to Pi via SSH, or type the following SSH command:

> ssh USERNAME@IPADDRESS

6. Securing Pi with Fail2Ban

This application helps to prevent hacking attempts by detecting log-in attempts that use a dictionary attack and banning the offending IP address for a short while. NOTE: If you’re using SSH Key Pairs and have disabled SSH Password Authentication then you may not want to bother with this as no-one can hack their way in via a dictionary attack anyway.

$ sudo apt-get install fail2ban

Wait for this to complete; it should be fine running the default set up so you can stop there, or learn more about customising fail2ban.

7. SSL Setup on Apache

7.1 Create a 3 years life (1095 days) SSL certification file under directory /etc/apache2/ssl with following command:

$ sudo mkdir /etc/apache2/ssl

$ sudo openssl req -x509 -nodes -days 1095 -newkey rsa:2048 -out /etc/apache2/ssl/server.crt -keyout /etc/apache2/ssl/server.key

You need to answer some question as below example:

pi@raspberrypi:~ $ sudo openssl req -x509 -nodes -days 1095 -newkey rsa:2048 -out /etc/apache2/ssl/server.crt -keyout /etc/apache2/ssl/server.key
Generating a 2048 bit RSA private key
……………………………………………………………………………………….+++
……………………………………+++
writing new private key to ‘/etc/apache2/ssl/server.key’
—–
You are about to be asked to enter information that will be incorporated
into your certificate request.
What you are about to enter is what is called a Distinguished Name or a DN.
There are quite a few fields but you can leave some blank
For some fields there will be a default value,
If you enter ‘.’, the field will be left blank.
—–
Country Name (2 letter code) [AU]:HK
State or Province Name (full name) [Some-State]:HK
Locality Name (eg, city) []:HK
Organization Name (eg, company) [Internet Widgits Pty Ltd]:Gold
Organizational Unit Name (eg, section) []:IT
Common Name (e.g. server FQDN or YOUR name) []:YourDomainName.com
Email Address []:youremail@hotmail.com

Remark: It is important to setup the Common Name, which should match your internet domain name FQDN.

7.2 Install the SSL mod for apache with command sudo a2enmod ssl as below example:

pi@raspberrypi:~ $ sudo a2enmod ssl
Considering dependency setenvif for ssl:
Module setenvif already enabled
Considering dependency mime for ssl:
Module mime already enabled
Considering dependency socache_shmcb for ssl:
Module socache_shmcb already enabled
Module ssl already enabled

7.3 Check the default-ssl.conf configure file under /etc/apache2/sites-enabled directory as below:

pi@raspberrypi: /etc/apache2/sites-enabled $ ls -l
total 0
lrwxrwxrwx 1 root root 35 Dec 18 22:21 000-default.conf -> ../sites-available/000-default.conf
lrwxrwxrwx 1 root root 35 Dec 18 23:11 default-ssl.conf -> ../sites-available/default-ssl.conf

If you cannot find the default-ssl.conf file in this directory, you need to run the following command to create link:

$ sudo ln -s /etc/apache2/sites-available/default-ssl.conf /etc/apache2/sites-enabled/default-ssl.conf

7.4 Edit the default-ssl.conf file and change two lines as below:

$ sudo nano /etc/apache2/sites-enabled/default-ssl.conf

SSLCertificateFile         /etc/apache2/ssl/server.crt

SSLCertificateKeyFile   /etc/apache2/ssl/server.key

7.5 Restart the apache server as below example:

pi@raspberrypi:/etc/apache2/sites-enabled $ sudo /etc/init.d/apache2 restart
[ ok ] Restarting apache2 (via systemctl): apache2.service.

7.6 Now, you can browse the web site with web link as https://yourdomainname.com, but you need to accept the security exceptional message to browse the site. As a result, it forces the SSL encryption on each page that require authentication, and it is more safety for data transfer in internet.

Remark: If you connect to the https://yourdomainname.com through your router, you need to open the port 443 on the router in order to allow data transfer through it.

Bonus Information:

  • For WordPress SSL setup, you need to edit wp-config.php file to define the following two lines:

define(‘FORCE_SSL_LOGIN’, true);

define(‘FORCE_SSL_ADMIN’, true);

  • For phpmyadmin SSL setup, you need to edit its config_inc.php file to define the following line:

$cfg[‘ForceSSL’] = ‘true’;

Reference Link / Doc:

  • https://mattwilcox.net/web-development/setting-up-a-secure-home-web-server-with-raspberry-pi
  • https://hallard.me/enable-ssl-for-apache-server-in-5-minutes/

Learn More Raspberry Pi from Amazon as below link:

Installation of Raspberry Pi Camera

Introduction

Raspberry pi computer can be connected to a camera to take picture and video. We can use it as a CCTV to monitor facility and environment. In the following, we will talk about how to setup a camera in raspberry pi step by step.

picamera

picamera

Step 1: Connect the Camera to Raspberry Pi as above picture, and enable the camera via raspi-config

Step 2: Capture Picture Command

$ raspistill -o image.jpg

Step 3: Capture Video Command

$ raspivid -o 5sec-video.h264

$ raspivid -o 10sec-video.h264 -t 10000

Note:  You can’t view anything over VNC, and obviously you can’t do it via a ssh terminal. You need to be viewing the Pi directly over hdmi.

Step 4.      Record raw video, convert to mp4, play:

The h264 video the camera records is “raw”.  To make it easily viewable by the Pi or Mac (or other PC’s) it needs to be converted as below steps. First, you need to install gpac on the Pi, then run MP4Box (part of that install) to do the convert using below commands:

$ sudo apt-get update

$ sudo apt-get install -y gpac

$ MP4Box -fps 30 -add myvid.h264 myvid.mp4

To play video on the Pi, you need omxviewer.  I think it may come installed iwth NOOBS now(?), but if not:

$ sudo apt-get install omxplayer

Then play in a window (again, this doesn’t work over VNC, need to be on a monitor connected to the Pi) or to the HDMI port:

$ omxplayer myvid.mp4

$ omxplayer -p -o hdmi myvid.mp4

Step 5.      Broadcast video to the Internet:

Using VLC

Install VLC if no, with below command:

$ sudo apt-get install vlc

Sometimes, I need to go to the official web site to download as link <<here>>, installed the App that way, and it started working!

Port Forward the Router:

I accessed my routers web page 192.168.x.x and via the “virtual servers” option, opened up port 8554 for outside listening.  I’m sure this process can vary widely per router.

Stream from the Pi:

After ssh’ing into the Pi, I executed this to start the video stream (note I knocked down the resolution from the default 1080p):

$ raspivid -w 640 -h 480 -o – -t 9999999 |cvlc -vvv stream:///dev/stdin –sout ‘#standard{access=http,mux=ts,dst=:8554}’ :demux=h264

View via VLC:

I accessed “What’s My Ip” to find the external IP of my router.

Launching VLC, I accessed “File -> Open Network…”, and entered:

http://<ip of my router>:8554

And hit “open” :  Next popped up a (delayed by about 5 seconds) stream from my Pi’s cam.  Awesome.

Using MJPG-Streamer

There is a tutorial shows how to broadcast video straight to a web page via MJPG-Streamer. It’s really easy to setup referring to “Raspberry Pi camera board video streaming”.

We firstly made two shell scripts, start_stream.sh & stop_stream.sh that handle all the heavy lifting of starting and stopping all the services, then make a copy of them to your home dir for easy execution.

Note, we changed them to up the resolution, jpg quality, and add a password to the site. We only made one change:  Since we previously port-forwarded port 8554, we also changed their code to use that port, rather than 9000.

To add your own password, edit start_stream.sh and change the line including the block of code below to include the “-c” stuff shown here, changing myUserName:myPassword appropriately.  Note, the -c argument must be inside the quotes, after the www, or things won’t work so well.

-o “output_http.so -p 8554 -w /opt/mjpg-streamer/www -c myUserName:myPassword”

Then browse to:

http://<ip of your router>:8554/stream_simple.html

To login and start watching from the auto-generated web page!  Looks like I’m getting around 1fps.

raspistill Image Formats

–encoding <format>

The default is jpg, but you can change it, where <format> is jpg, bmp, gif, & png.  From the docs: “Note that unaccelerated image types (gif, png, bmp) will take much longer to save than JPG which is hardware accelerated.”

If using jpg, you can set the quality via:

–quality #

Where # is a value from 1 -> 100.  They say that 75 is a good number.

Reference Info:

Here on PyPi.  Official documentation here.  Source on Github here.  Forum discussion here.

Easy to install with pip:

$ sudo pip install picamera

We can run the quickstarts via Adafruit WebIDE successfully (while having the Pi hooked up over HDMI to preview the results).

 Order a RaspBerry Pi Camera from Amazon as below link:

Step by Step Installation of Raspberry Pi

Introduction

Recently, I bought a Raspberry Pi 2 B as my Christmas gift myself. Ha..Ha… It is a Good Stuff… Raspberry Pi is a very low cost Linux computer with pocket size. However, it is very powerful, and you can use it as a calculation processor, web hosting computer, network router, micro-controller for automatically, etc.Attractive… Right … To provide you information to start to use it, I would like to explain its installation as below. Hope it is help to you. If you are interested in it, feel free to check more information from amazon link click –> <<here>> .

20151219_131739

Step 1: Format SD Card via SDFFormatter

Download SDFFormatter from https://www.sdcard.org/downloads/formatter4/

Step 2: Write NOOBS System to SD Card

Download NOOBS from https://www.raspberrypi.org/downloads/

Step 3: Connect Keyboard/Mouse/HDMI monitor/SD Card/Power to Raspberry Pi

Connect power and switch-on the device, then follow the screen display to install Raspbian O/S System.

Step 4: Install to local/keyboard/country/display Chinese Char

  1. raspi-config 先設定 locales, 如utf-8 等
  2. 安裝字型 sudo apt-get install ttf-wqy-microhei
  3. Select Midori font 選字型 文泉驛微米黑
  4. Select Raspberry Configuration
    • Select keyboard as US (internation)
    • Select your country
  5. Reboot the system

Step 5: Install program to update System Time via Internet

$ sudo apt-get update

$ sudo apt-get upgrade

$ sudo apt-get install ntpdate

$ sudo service ntp restart

Step 6: Install tightvncserver program

Reference Info –> https://www.raspberrypi.org/documentation/remote-access/vnc/README.md

  • On your Pi (using a monitor or via SSH), install the TightVNC package:

$ sudo apt-get install tightvncserver

  • Next, run TightVNC Server which will prompt you to enter a password and an optional view-only password:

$ sudo tightvncserver

  • Start a VNC server from the terminal. This example starts a session on VNC display zero (:0) with full HD resolution:

$ sudo vncserver :0 -geometry 1920×1080 -depth 24

Automation and run at boot

You can create a simple file with the command to run the VNC server on the Pi, to save having to remember it:

$ sudo vi /etc/init.d/vncboot

  • Create a file containing the following shell script:

#! /bin/sh
# /etc/init.d/vncboot

### BEGIN INIT INFO
# Provides: vncboot
# Required-Start: $remote_fs $syslog
# Required-Stop: $remote_fs $syslog
# Default-Start: 2 3 4 5
# Default-Stop: 0 1 6
# Short-Description: Start VNC Server at boot time
# Description: Start VNC Server at boot time.
### END INIT INFO

USER=pi
HOME=/home/pi

export USER HOME

case “$1” in
start)
echo “Starting VNC Server”
#Insert your favoured settings for a VNC session
su – pi -c “/usr/bin/vncserver :0 -geometry 1280×800 -depth 16 -pixelformat rgb565”
;;

stop)
echo “Stopping VNC Server”
/usr/bin/vncserver -kill :0
;;

*)
echo “Usage: /etc/init.d/vncboot {start|stop}”
exit 1
;;
esac

exit 0


  • Save this file as vncboot (for example)
  • Make this file executable:

$ sudo chmod 755 vncboot

  • Enable dependency-based boot sequencing:

$ sudo update-rc.d vncboot defaults

In your client computer, use vnc client to connect to   your ip address:5900     or     Ip address:1

Step 7: Install Samba program to setup share folder

$ sudo apt-get install samba samba-common-bin

$ sudo adduser powenko

$ sudo usermod –a -G sambashare powenko

$ sudo pdbedit –a –u powenko

$ sudo mkdir /home/allusers

$ sudo chown root:sambashare /home/allusers/

$ sudo chmod 770 /home/allusers/

$ sudo chmod g+s /home/allusers/

$ sudo nano /etc/samba/smb.conf

Edit with the following:

security = user
read only = no
[allusers]
comment=Shared Folder
path=/home/allusers
read only=no
guest ok=no
browseable=yes
create mask=0700

Start Samba Server Automatically

$sudo /etc/init.d/samba restart

Connect Folder via Client Computer

\raspberrypiallusers
\raspberrypipowenko

Step 8: Install Cloud/Apache/php to setup share folder

Step 01 Install software

You’ll want Apache software and PHP for this. Install everything you need with:

$ sudo apt-get install apache2 php5 php5-json php5-gd php5-sqlite curl libcurl3 libcurl4-openssl-dev php5- curl php5-gd php5-cgi php-pear php5-dev build-essential libpcre3-dev libapache2-mod-php5 php-apc

Step 02 Setup PHP accelerator   (optional: this step only works for php 5.4 or below)

Install your accelerator with $ sudo pecl install apc

But I’m getting this error:                       ^

make: *** [apc_cache.lo] Error 1
ERROR: `make’ failed

Remark:  apc is no longer supported on PHP 5.5 and above. A quick search brought me to this;
http://grokbase.com/t/php/php-internals-win/145fj1qj14/compiling-memcache-and-apc-for-php-5-6, Which seems to confirm that it won’t work.

Then edit an ini file, use $sudo nano/etc/php5/cgi/conf.d/apc.ini and then add this to the file:

extension=apc.so
apc.enabled=1
apc.shm_size=30

Step 03 Configure file limits

Go into the Apache config file with $ sudo nano /etc/php5/apache2/php.ini. It’s a big file, but there are two filesize options you need to find, and a third extension option you need to add as below:

upload_max_filesize = 2048M
post_max_size = 2200M
extension = apc.so           # optional

Step 04 Set up SSL

First of all, you need to enable SSL in Apache; do this by using sudo nano /etc/apache2/sites-enabled/000-default.conf and change ‘None’ to ‘All’ in the AllowOverride option. Follow this up with the following two commands:

$ sudo a2enmod rewrite

$ sudo a2enmod headers

Step 05 Finish up with Apache

You now need to do two sets of commands: a big one which requires some info and then a restart:

$ sudo openssl genrsa -des3 -out server.key 1024

$ sudo openssl rsa -in server.key -out server.key. insecure

$ sudo openssl req -new -key server.key -out server.csr

$ sudo openssl x509 -req -days 365 -in server.csr -signkey server.key -out server.crt

$ sudo cp server.crt /etc/ssl/certs;sudo cp server.key /etc/ssl/private;sudo a2enmod ssl

$ sudo a2ensite default-ssl

$ sudo service apache2 restart

Step 06 Download and install ownCloud

Here you have a series of commands to run that will download, unzip and install ownCloud to the right place:

$ wget https://download.owncloud.org/community/owncloud-7.0.0.tar.bz2

(option: find the latest update from https://owncloud.org/install/#instructions-server)

$ sudo tar -xjf owncloud-7.0.0.tar.bz2

$ sudo cp -r owncloud /var/www/html/

Step 07 ownCloud permissions

Make sure your hard drive is connected and mounted as you want it. First, give webserver permission to use ownCloud:

$ sudo chown -R www-data:www-data /var/www/html/owncloud/

Next, use sudo nano /var/www/owncloud/.htaccess and make the same changes you did in the php.ini file above.

php_value_upload_max_filesize 2000Mphp_value_post_max_size 2000Mphp_value_memory_limit 2000M

Finally, give permissions to the location you mounted the hard drive to with:

$ sudo chown -R www-data:www-data [mount]

Step 08 Set up ownCloud

In your client computer web browsers,  navigate to https://[ipaddress]/owncloud to begin the ownCloud setup process, as below diagram. The first thing you’ll need to do is change the data location to the mount point of your external drive, which can be found in the advanced options.

owncloud-setup

 Order a RaspBerry Pi from Amazon as below link: