Setup of Ant Miner A3 Machine Mining with sia.tech pool

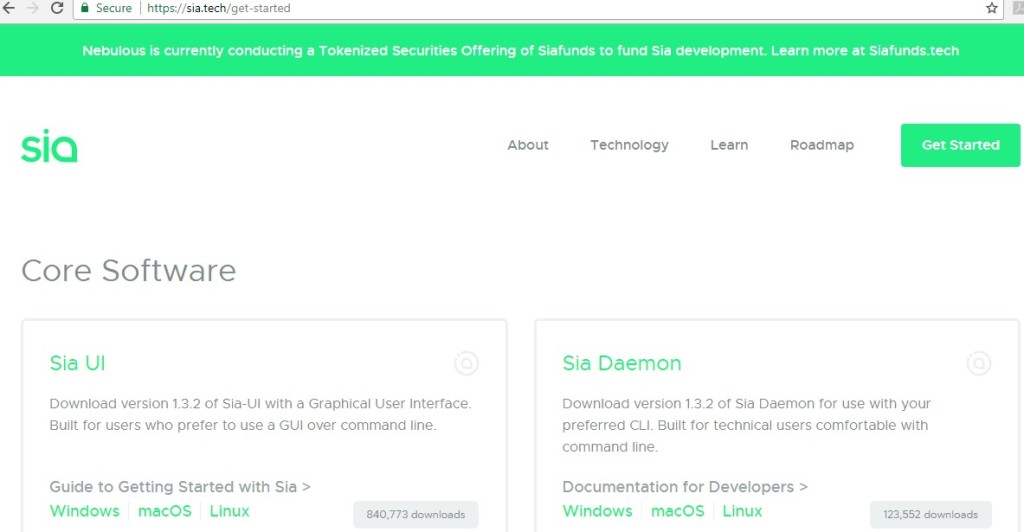
Step 1. Download sia program from https://sia.tech/get-started

sia-tech-pict1

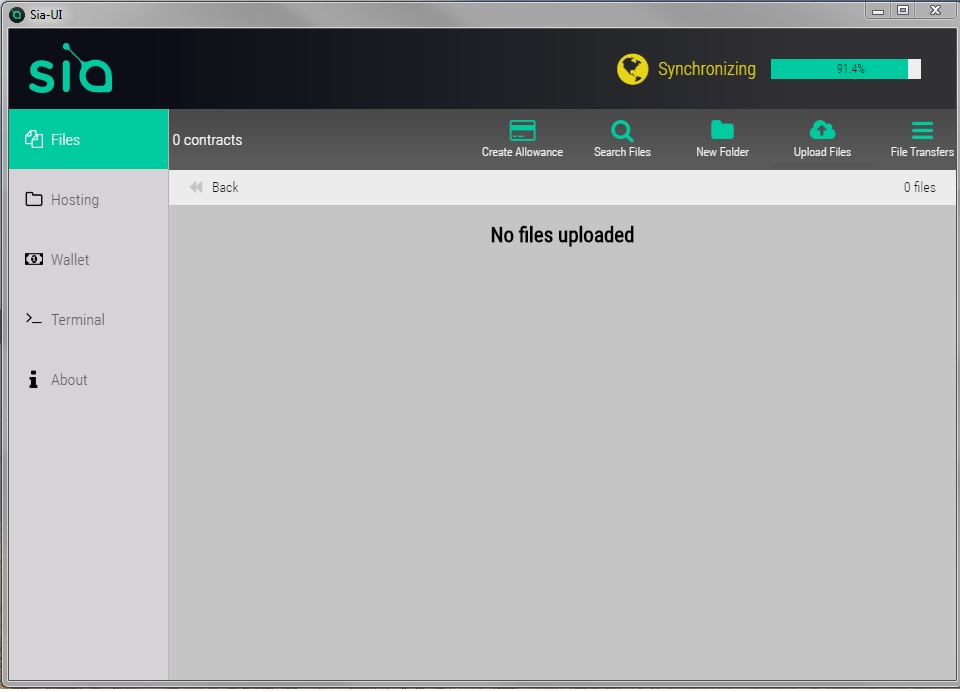
Step 2. Start the Sia-UI program, and wait for “synchronizing” done, which we may wait for one or two days, so you have better run it in a stable computer.

sia-pict1

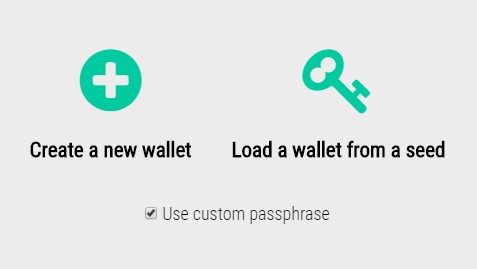
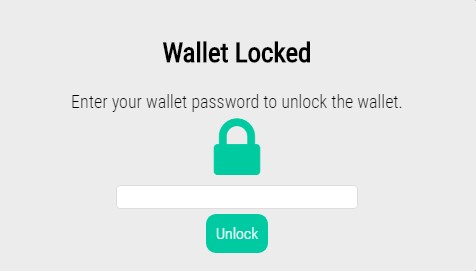
Step 3. Create a wallet, mark down the seek and passphrase, and unlock it.

Click on the Wallet tab on the left. You’ll see two options – “Create a new wallet” or “Load a wallet from a seed”. If this is your first time creating a wallet, you’ll select Create a new wallet. It is also recommended to check the box to Use custom passphrase first, and create a password for your wallet. If you don’t, your wallet password will be the same as your wallet seed, which is not ideal, especially if you plan on hosting.

sia-tech-pict3

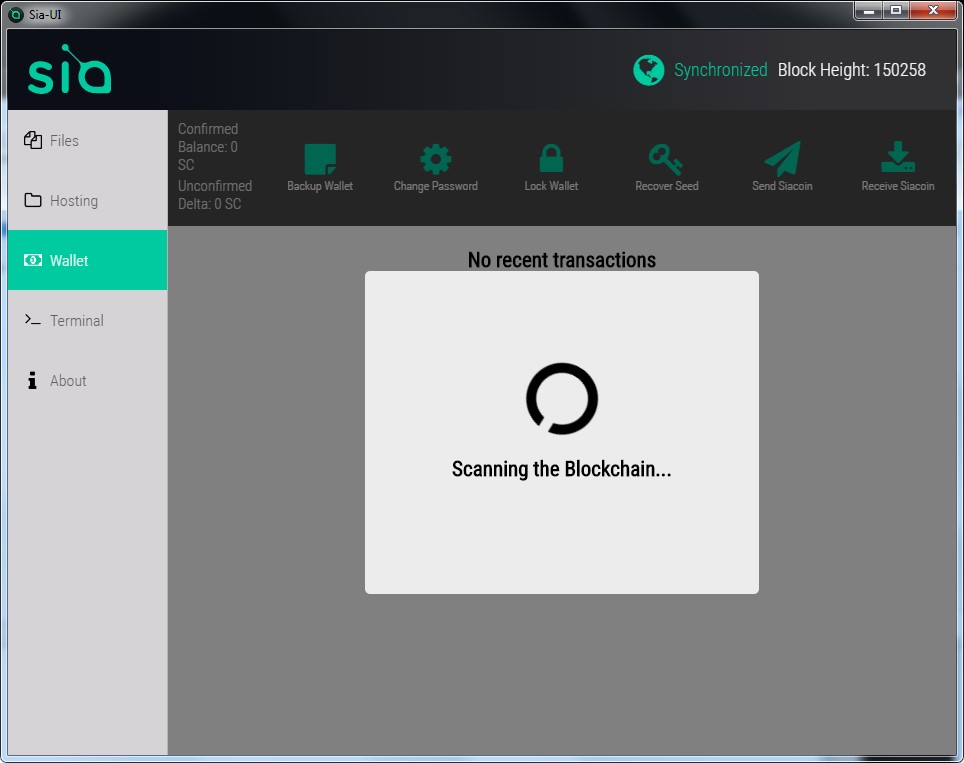
The wallet will say it’s scanning the blockchain, which may take several minutes. Wait for it to complete, or go grab a snack.

sia-tech-pict4

sia-tech-pict5

Step 4. Create a wallet address

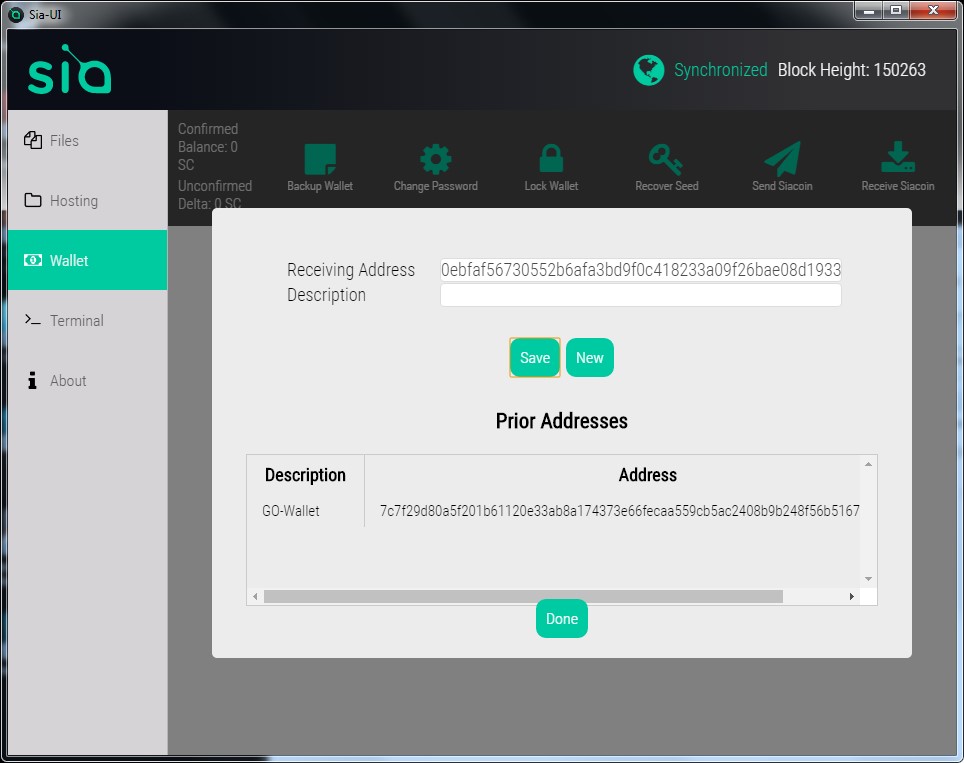
A receiving address will be automatically generated for you in the top box, and you can give it a name in the bottom box if you want. Click Save to add it to the list of “Prior Addresses”. You can create as many addresses as you want, and they’ll all point to your wallet. Sia makes a new wallet address by default every time you click “Receive Siacoin” in order to help protect your privacy, but you can use any of your previous addresses at any time and they’ll still work.

sia-tech-pict6

Step 5. Backup your sia wallet

There is no option to backup the wallet in the sia-ui software! But you can backup the files by yourself!The files location is configured in the config.json file. The config.json is located in “Sia-UI-v1.2.0-win32-x64resourcesapp” folder. Open the file with text editor,you can see the “datadir” item.This item describe the backup files location! in the default the files location is in the C:userusernameAppDataRoamingSia-UI! Please do not go at manually backing up files from the Sia-UI folder as these are not guarenteed to work if placed back in a newer version of Sia-UI, above method is documented and always will work.

All you need to recover your wallet is to write down on a physical paper your seed, which is the same as your wallet password.
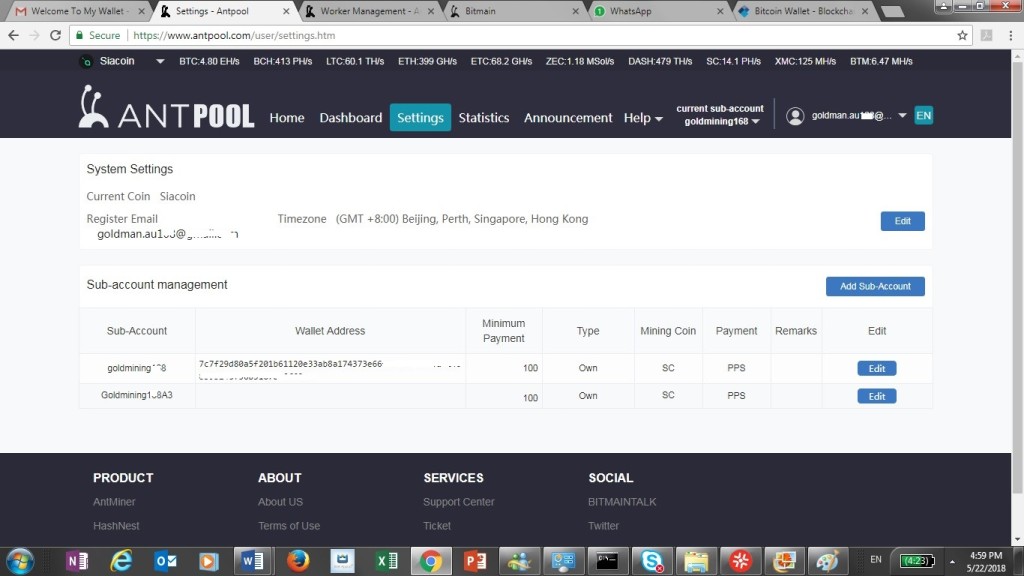
Step 6. Register account from antpool.com, and then select siacoin in the top right hand corner.

And then create account, sub-account, and worker as below:

sia-tech-pict7a

sia-tech-pict8

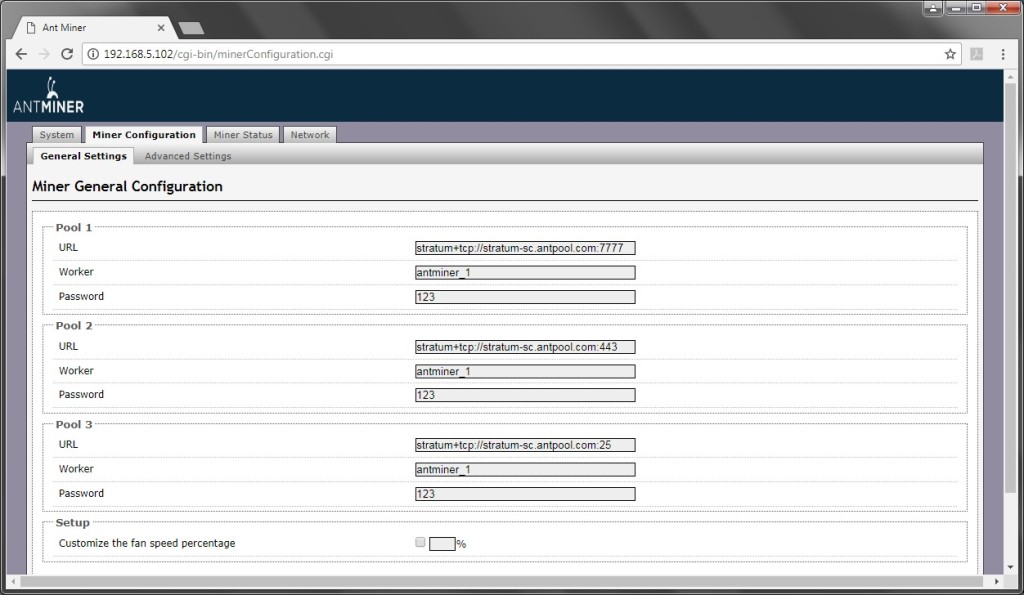
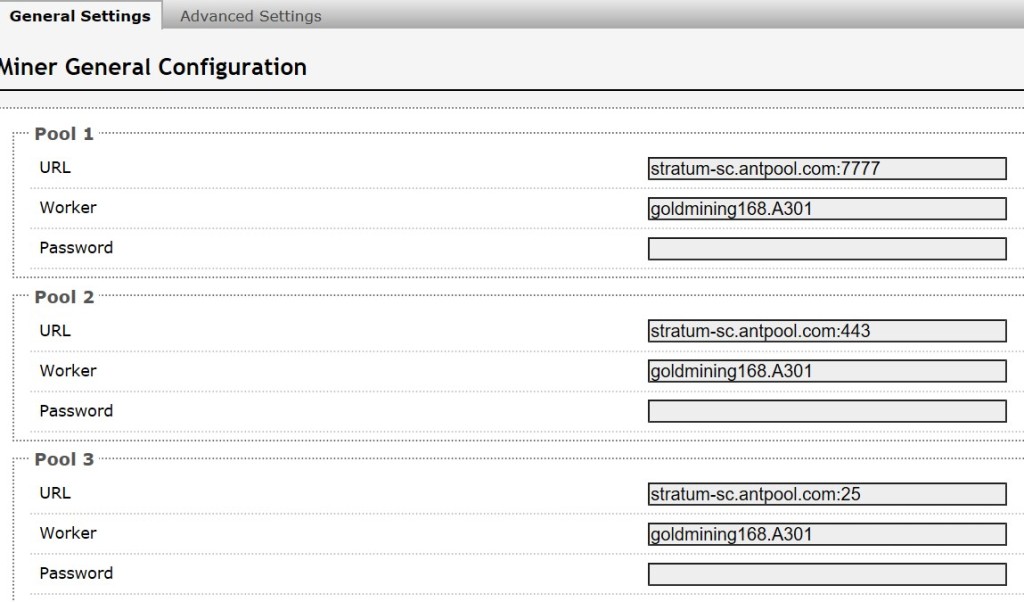
Step 7. Setup in mining machine as below:

Change from original default setting below:

sia-tech-pict9

To:

sia-tech-pict10

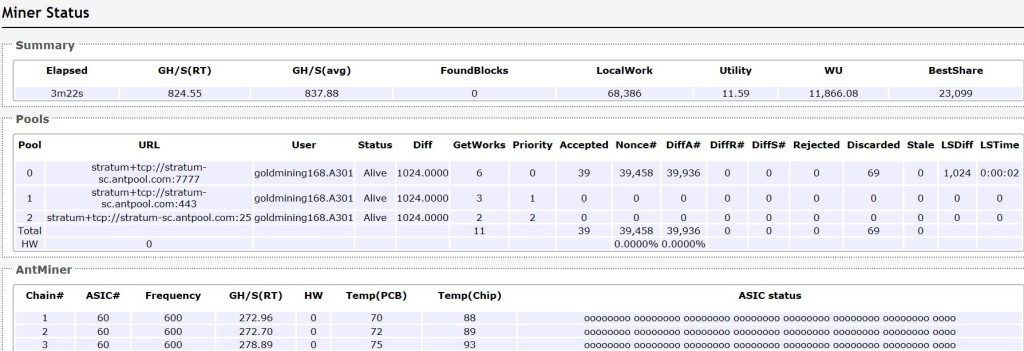
Step 8: Once you’ve started mining, you can check your stats from miner status as below example:

sia-tech-pict11

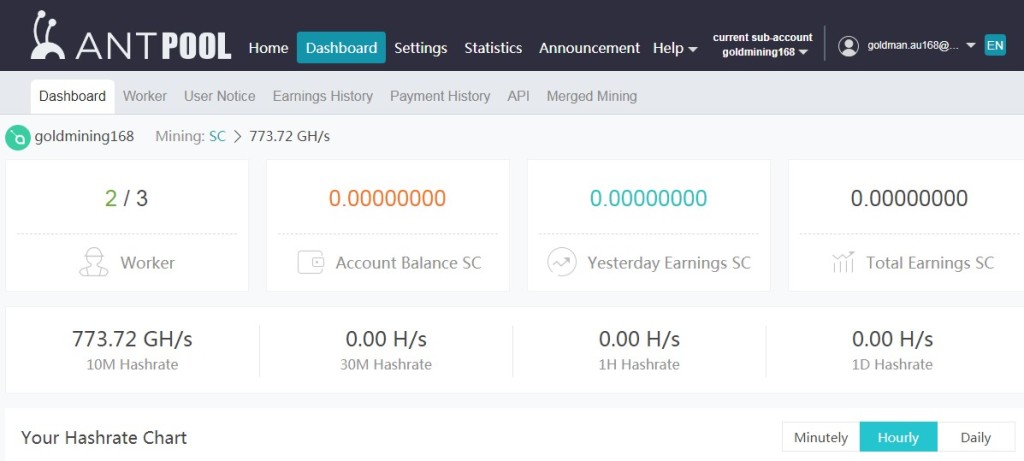
Step 9. My earning monitor screen from antpool as below:

sia-tech-pict12

How to start mining via Antpool & BTC.com

information source: https://support.bitmain.com/hc/en-us/articles/115000211774-Connect-Antminer-S9-T9-S7-to-Pools-Antpool-BTC-com

Connect Antminer S9/T9/S7 to Pools – Antpool/BTC.com

Connect to Antpool


1.Login:https://www.antpool.com/

1.png


2. Enter your User ID and password for Bitmain.com to log into Antpool or register a new account.

2.png


3. Click the “Bitcoin”at the upper left of the page. Go to the Settings tab and add a Sub-Account via the button on the right.

3.png


Sub-account must contain only the letters or numbers

4.png


4. Enter the default IP address of the ANTMINER  – Go to the login page, enter the user ID: root, password: root.

5.png
5. Click Miner Configuration, you can fill in 3 groups of mining pool. If the first group is dead, then, it will automatically pointed to the second group. You could fill first 2 groups with Antpool, the third one with BTC.com.

Below is the configuration of Antpool:

stratum+tcp://stratum.antpool.com:3333
stratum+tcp://stratum.antpool.com:443
stratum+tcp://stratum.antpool.com:25

Worker Format: sub-account.miner name

Example: If your sub-account is “antminer”, then your miners could be set up as antminer.1, antminer_1, antminer.2, etc. The miner order will be sorted by the miner name.

Password: (Blank). if you change addresses in bulk, fill it as 123.


Click Save & Apply to mine, the miners will be restart.


6.png


Connect to BTC.com

Account Registration

1. Login the home page: https://pool.btc.com

2. Click the “Sign Up Now ” button:


3. Complete the informtaion required and create a new account:


Sub-Account Configuration

1. Click the user name on the top right and choose create sub-account:


2. Fill the blanks and complete creating sub-account:


Miner Configuration

1. Node Selection

There is network delay when users connecting miners to different nodes in different area. Selecting the nearest nodes can provide the most stable connection.

North China Mining Address

    stratum+tcp://cn.ss.btc.com:1800
    stratum+tcp://cn.ss.btc.com:443
    stratum+tcp://cn.ss.btc.com:25

South China Mining Address

    stratum+tcp://us.ss.btc.com:1800
    stratum+tcp://us.ss.btc.com:443
    stratum+tcp://us.ss.btc.com:25

America Mining Address

    stratum+tcp://us.ss.btc.com:1800
    stratum+tcp://us.ss.btc.com:443
    stratum+tcp://us.ss.btc.com:25

Europe Mining Address

    stratum+tcp://us.ss.btc.com:1800
    stratum+tcp://us.ss.btc.com:443
    stratum+tcp://us.ss.btc.com:25


2. Miner Setting

Format: sub-account.miner name

Example: If your sub-account is “btcminer”, then your miners could be set up as btcminer.001, btcminer.002, etc. The miner order will be sorted by the miner name. Password: (Blank). if you change addresses in bulk, fill it as 123.

3. Miner Conection Setting

Type the IP address of miners into the address bar with a web browser under the local area network. The default account is: username ‘root’, password ‘root’.


Sub-Account Management

1. After signing up on BTC pool, uses can establish multiple sub-accounts for different needs.

Click the current sub-account on top right corner:


2. Users can edit every sub-account on this page, such as modifying address and setting alert:


Information Modification

Click “settings” button on top right of the website, you can modify your account and address as follows:


Payment Confirmation

Payment Time

BTC Pool settles all the earnings of last day at UTC 00:00 and sends the payment in 2 hours.

Confirmation Time

The confirmation of TX takes time on Bitcoin Network. The time could be 1 minute or up to 2 hours, which depends on the network status. BTC Pool promises that users receive the payment in the shortest time.

Powered By Goldman Design