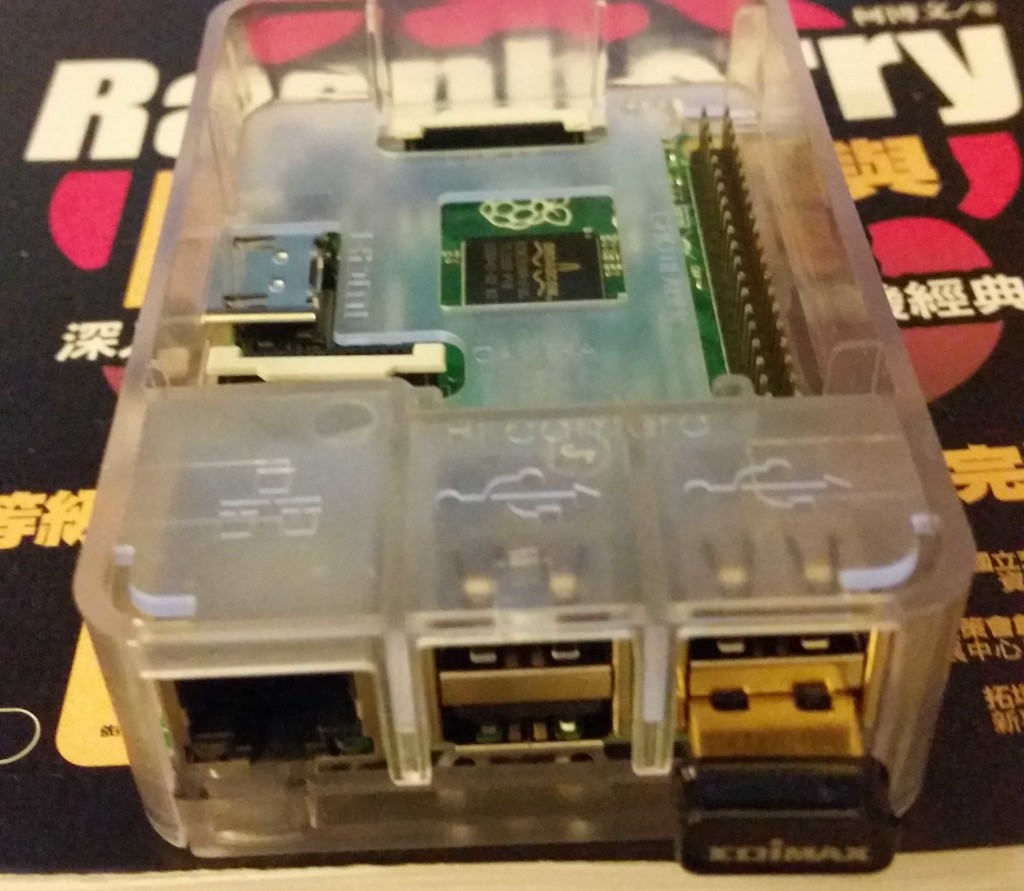
Introduction
Recently, I bought an Edimax Wifi Dongle and used it on my Raspberry Pi. It selected Edimax because it is 100% compatible with Raspberry Pi, and can works out of the box. Moreover, it is cheap, and it can be used as a WiFi Receiver and an Access Point to share out WiFi. The features of Edimax are as below:
- It supports 150 MBPS speed at an 802.11n wireless data rate, which is the latest wireless standard. It provides the fastest range and widest coverage area.
- The Raspberry Pi Wifi dongle also supports Wifi Multimedia (WMM) standard, which allows better streaming of real-time data.
- It has a multi-language EZmax setup wizard
- Nano size design helps you to connect it with any USB port without blocking other USB ports
- Supports Windows 10
- Ideal wifi adapter for Raspberry P
In the following, I will talk about how to set it up as a WiFi receiver and Access Point.
Setup Edimax as WiFi Receiver
Step 1. Connect the Edimax to USB port
Step 2. Edit the /etc/network/interfaces files as below:
# Please note that this file is written to be used with dhcpcd
# For static IP, consult /etc/dhcpcd.conf and ‘man dhcpcd.conf’
# Include files from /etc/network/interfaces.d:
source-directory /etc/network/interfaces.d
auto lo
iface lo inet loopback
iface eth0 inet dhcp
allow-hotplug wlan0
auto wlan0
iface wlan0 inet manual
wpa-conf /etc/wpa_supplicant/wpa_supplicant.conf
allow-hotplug wlan1
iface wlan1 inet manual
wpa-conf /etc/wpa_supplicant/wpa_supplicant.conf
Step 2. Edit the /etc/wpa_supplicant/wpa_supplicant.conf files to add the SSID and its passphrase as below:
ctrl_interface=DIR=/var/run/wpa_supplicant GROUP=netdev
update_config=1
network={
ssid=”SSID Name”
psk=”SSID Passphrase”
}
Bonus:
If you do not familiar with editor to edit wpa_supplicant.conf file, you can setup SSID via “wpa-cli” command as below:
Setup SSID command:
$ ifup -force wlan0
$ wpa_cli
> scan
> scan_result
> add_network
0
> set_network 0 ssid “SSID Name”
> set_network 0 psk “SSID Passphrase”
> enable_network 0
> save_config
> quit
$ sudo /etc/init.d/networking restart
Monitor command:
$ lsusb
$ lsmod
$ ifconfig
$iwconfig
Setup Edimax WiFi as Access Point
Now, we share our network card internet and share the internet via Edimax WiFi dongle with bridge mode as below:
Step 1. Install the following packages.
sudo apt-get install bridge-utils hostapd
Step 2. Download the installed binary version of hostapd with the following commands:
wget https://infotechmanagefactory.com/wp-content/uploads/2016/01/hostapd.zip
unzip hostapd.zip
sudo mv /usr/sbin/hostapd /usr/sbin/hostapd.bak
sudo mv hostapd /usr/sbin/hostapd.edimax
sudo ln -sf /usr/sbin/hostapd.edimax /usr/sbin/hostapd
sudo chown root.root /usr/sbin/hostapd
sudo chmod 755 /usr/sbin/hostapd
Step 3. Bridge the Network Connection – to edit interfaces file as below:
$ sudo nano /etc/network/interfaces
# interfaces(5) file used by ifup(8) and ifdown(8)
# Please note that this file is written to be used with dhcpcd
# For static IP, consult /etc/dhcpcd.conf and ‘man dhcpcd.conf’
# Include files from /etc/network/interfaces.d:
source-directory /etc/network/interfaces.d
auto lo
iface lo inet loopback
allow-hotplug eth0
auto eth0
iface eth0 inet dhcp
#bridge
auto br0
iface br0 inet dhcp
bridge_ports eth0 wlan0
Step 4. Configure Hostapd by creating the hostapd.conf file as below:
sudo nano /etc/hostapd/hostapd.conf
interface=wlan0
driver=rtl871xdrv
bridge=br0
ssid=YourSsidHere
channel=1
wmm_enabled=0
wpa=1
wpa_passphrase=YourPassPhraseHere
wpa_key_mgmt=WPA-PSK
wpa_pairwise=TKIP
rsn_pairwise=CCMP
auth_algs=1
macaddr_acl=0
Step 5. Test the Hostapd
$ sudo reboot
$ sudo hostapd -dd /etc/hostapd/hostapd.conf
Now, you should be able to search its SSID via another WiFi device, and test to connect it. Good Luck !


Hi fellas. I feel so lonely today. I would like to hang out or maybe even date an interesting guy.
I can’t post my pics in comment, but you can check my account here:
girlssnapshots.com/profile/tinyNadia