
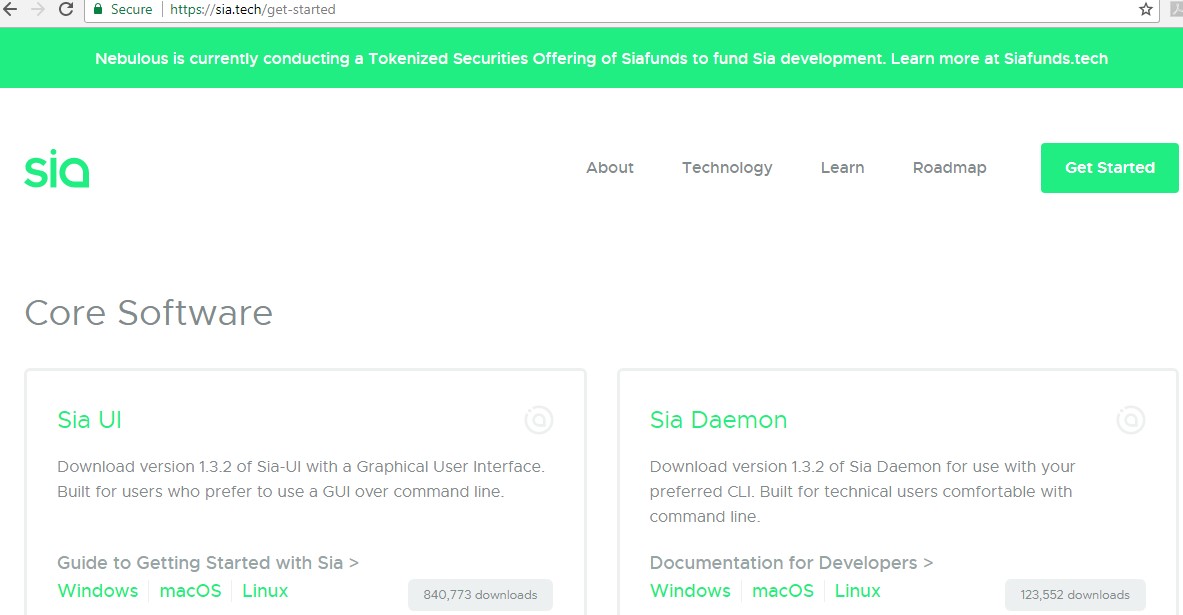
Step 1. Download sia program from https://sia.tech/get-started
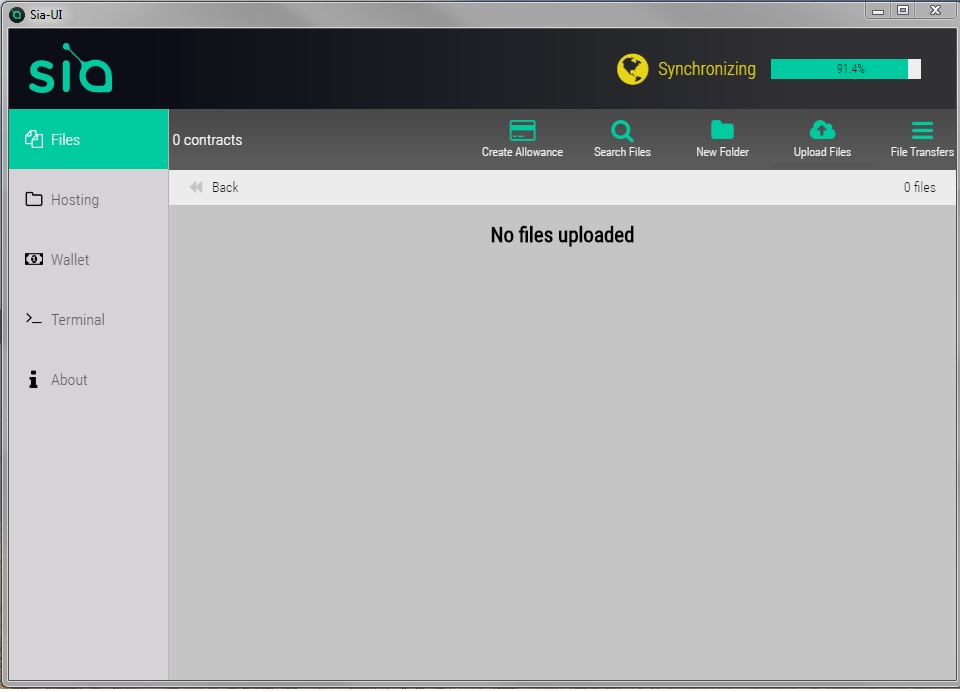
Step 2. Start the Sia-UI program, and wait for “synchronizing” done, which we may wait for one or two days, so you have better run it in a stable computer.
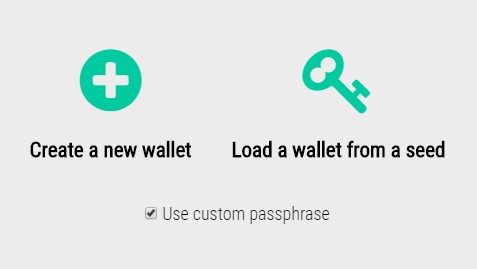
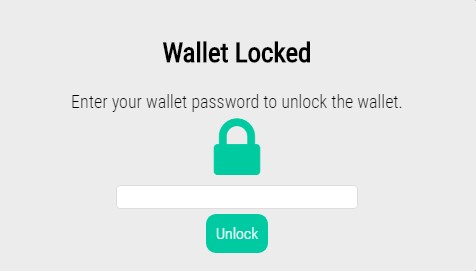
Step 3. Create a wallet, mark down the seek and passphrase, and unlock it.
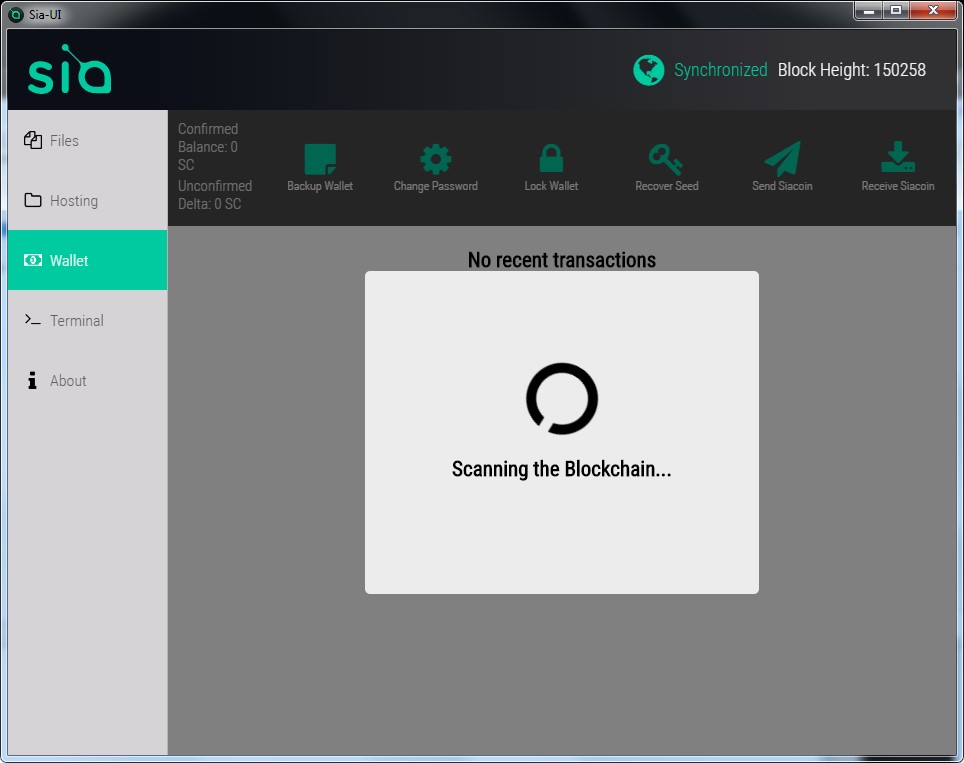
Click on the Wallet tab on the left. You’ll see two options – “Create a new wallet” or “Load a wallet from a seed”. If this is your first time creating a wallet, you’ll select Create a new wallet. It is also recommended to check the box to Use custom passphrase first, and create a password for your wallet. If you don’t, your wallet password will be the same as your wallet seed, which is not ideal, especially if you plan on hosting.
The wallet will say it’s scanning the blockchain, which may take several minutes. Wait for it to complete, or go grab a snack.
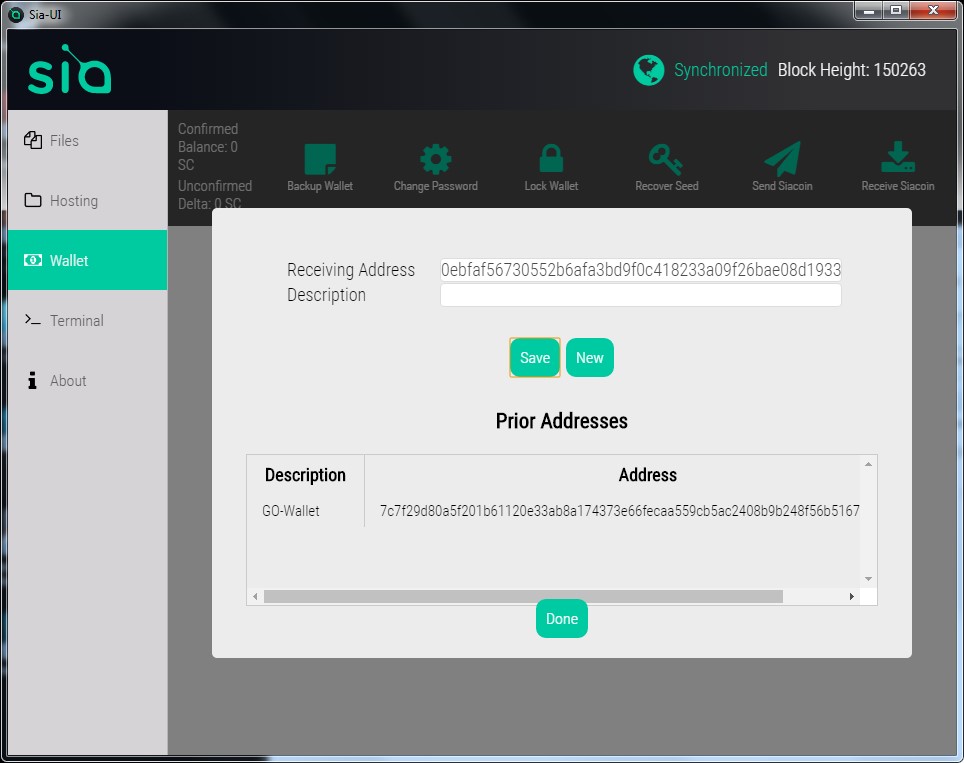
Step 4. Create a wallet address
A receiving address will be automatically generated for you in the top box, and you can give it a name in the bottom box if you want. Click Save to add it to the list of “Prior Addresses”. You can create as many addresses as you want, and they’ll all point to your wallet. Sia makes a new wallet address by default every time you click “Receive Siacoin” in order to help protect your privacy, but you can use any of your previous addresses at any time and they’ll still work.
Step 5. Backup your sia wallet
There is no option to backup the wallet in the sia-ui software! But you can backup the files by yourself!The files location is configured in the config.json file. The config.json is located in “Sia-UI-v1.2.0-win32-x64resourcesapp” folder. Open the file with text editor,you can see the “datadir” item.This item describe the backup files location! in the default the files location is in the C:userusernameAppDataRoamingSia-UI! Please do not go at manually backing up files from the Sia-UI folder as these are not guarenteed to work if placed back in a newer version of Sia-UI, above method is documented and always will work.
All you need to recover your wallet is to write down on a physical paper your seed, which is the same as your wallet password.
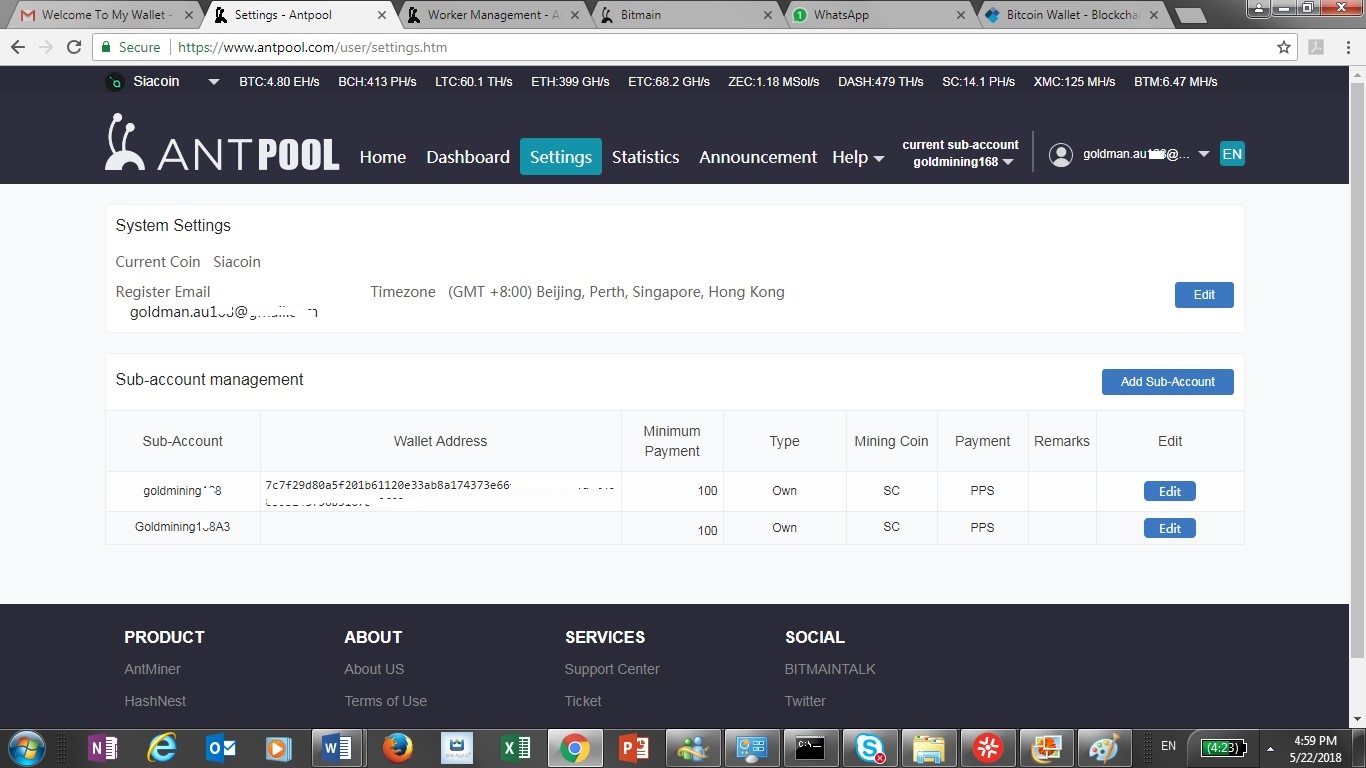
Step 6. Register account from antpool.com, and then select siacoin in the top right hand corner.
And then create account, sub-account, and worker as below:
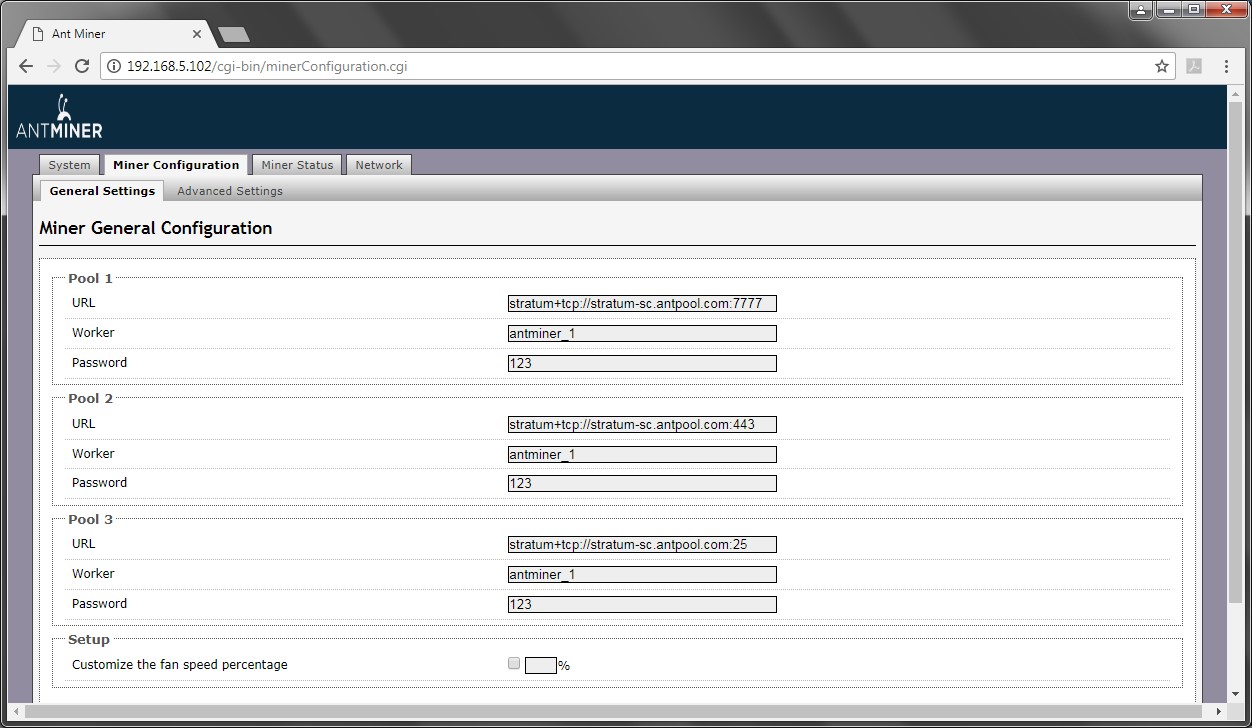
Step 7. Setup in mining machine as below:
Change from original default setting below:
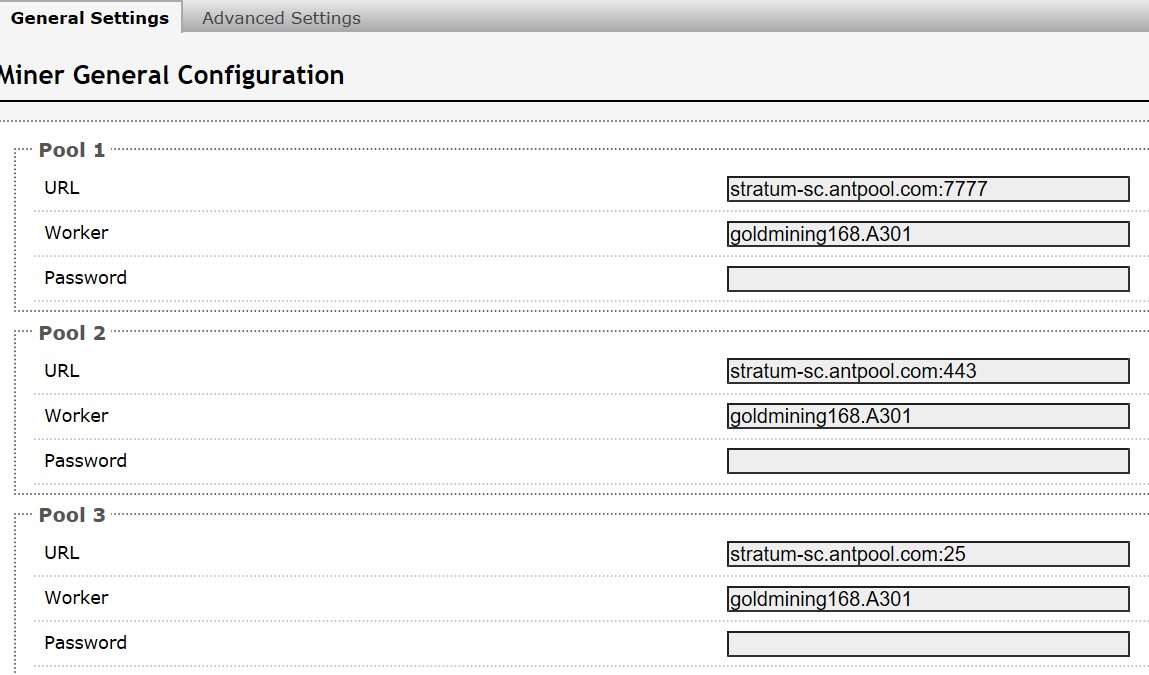
To:
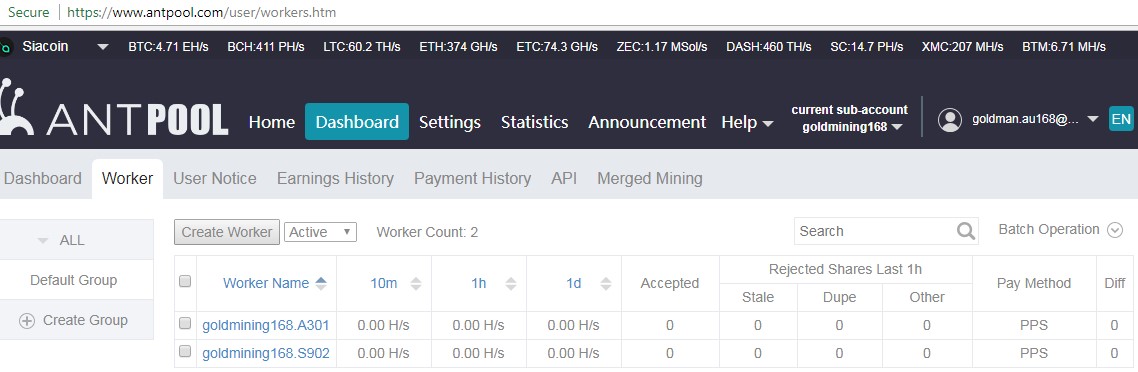
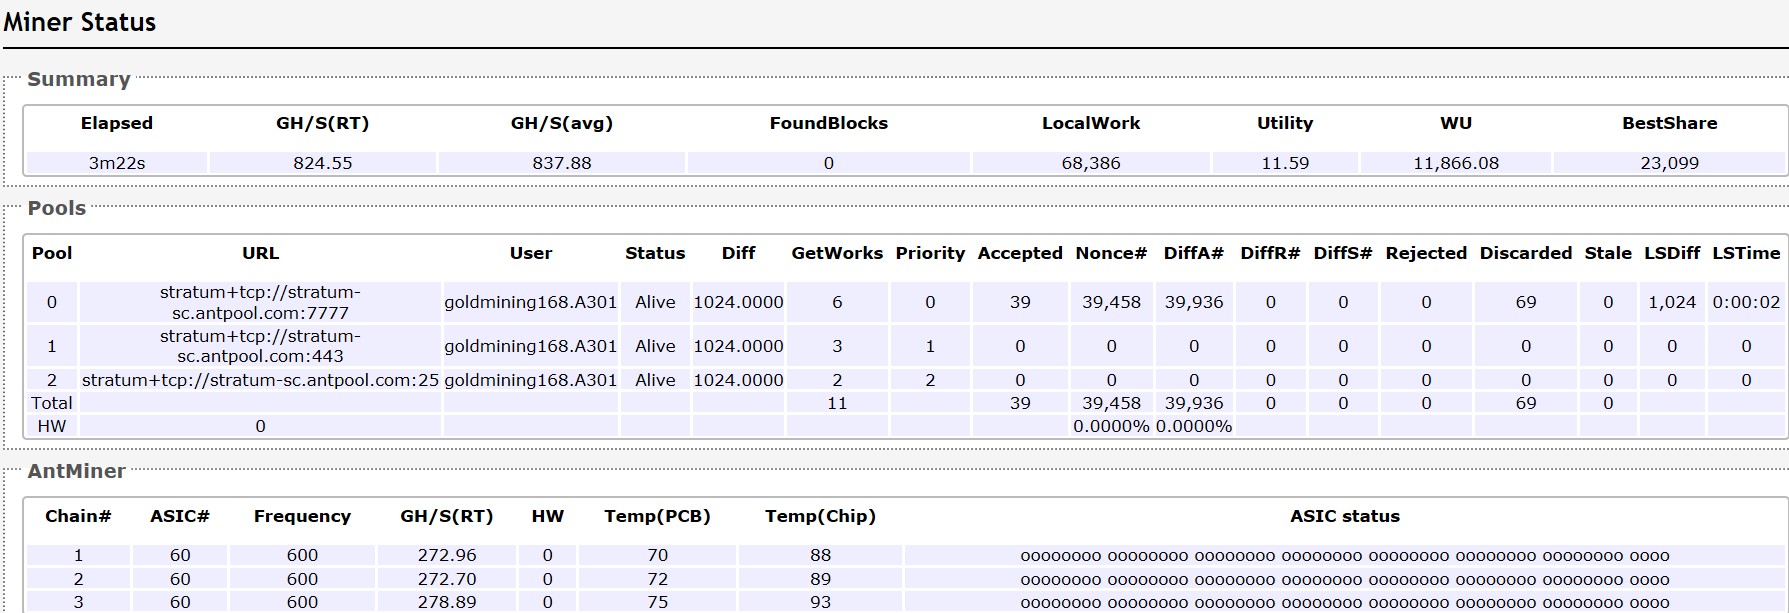
Step 8: Once you’ve started mining, you can check your stats from miner status as below example:
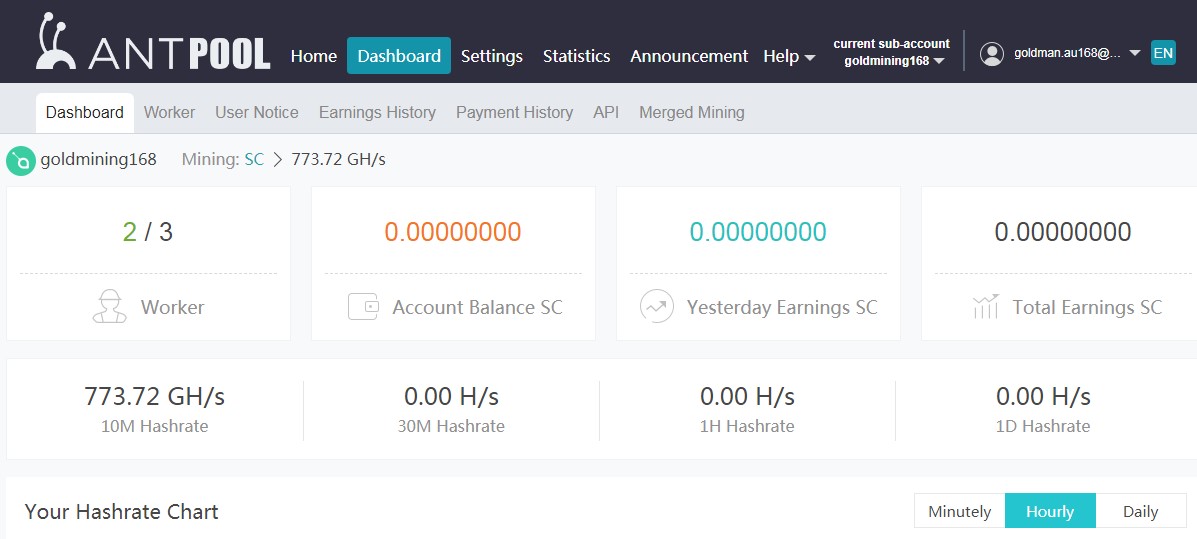
Step 9. My earning monitor screen from antpool as below:
Auto Liker, auto liker, Autolike International, Status Liker, Status Auto Liker, auto like, Working Auto Liker, Photo Liker, Autoliker, Increase Likes, ZFN Liker, Photo Auto Liker, Auto Like, autoliker, autolike, Autoliker, Autolike
Oh my goodness! an outstanding article man. Thank you Nevertheless I am experiencing concern with ur rss. Don?t know why Incapable to register for it. Exists anyone obtaining the same rss trouble? Any person that recognizes kindly respond. Thnkx