Introduction
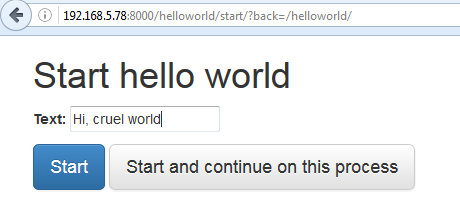
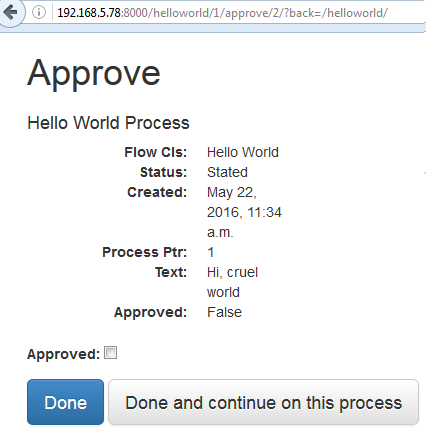
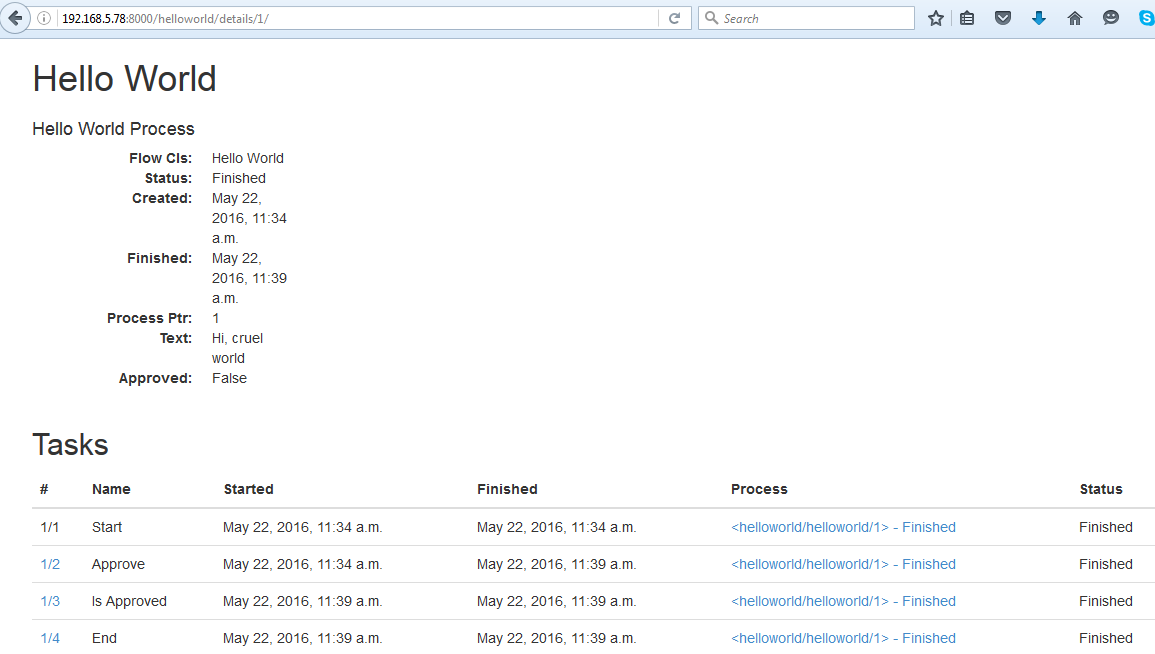
Recently, I studied how to setup a work flow program using python django. Believe me, Python Diango can provide you a high quality work flow web application. Let’s say I would like a simple workflow application as below diagram. I will show you how to setup the application as below instruction, and I will also show you the screen dump examples of running the application.
Step 1. Prerequisition
This Work Flow Program requires Python 3.3 or greater, and django 1.6 or 1.7. I recommend you to setup under virtual environment. Setup the following python plug-in by running the following command:
$ pip3 install Django==1.7.1
$ pip3 install WebOb==1.4
$ pip3 install WebTest==2.0.16
$ pip3 install amqp==1.4.6
$ pip3 install anyjson==0.3.3
$ pip3 install beautifulsoup4==4.3.2
$ pip3 install billiard==3.3.0.18
$ pip3 install celery==3.1.16
$ pip3 install django-fsm==2.2.0
$ pip3 install django-viewflow==0.7.0
$ pip3 install django-webtest==1.7.7
$ pip3 install kombu==3.0.23
$ pip3 install mock==1.0.1
$ pip3 install pytz==2014.9
$ pip3 install singledispatch==3.4.0.3
$ pip3 install six==1.8.0
$ pip3 install waitress==0.8.9
Step 2. Create a standard django project and application
Run the following command:
$ django-admin.py startproject demo .
$ ./manage.py startapp helloworld
$ mv helloworld/ demo/
Step 3. Edit or Create the following files
3.1 edit demo/settings.py
…
INSTALLED_APPS = (
‘django.contrib.admin’,
‘django.contrib.auth’,
‘django.contrib.contenttypes’,
‘django.contrib.sessions’,
‘django.contrib.messages’,
‘django.contrib.staticfiles’,
‘viewflow’,
‘demo.helloworld’
)
…
TEMPLATE_CONTEXT_PROCESSORS = (
‘django.contrib.auth.context_processors.auth’,
‘django.core.context_processors.request’,
)
3.2 edit demo/urls.py
from django.conf.urls import patterns, include, url
from django.contrib import admin
from viewflow import views as viewflow
from .helloworld.flows import HelloWorldFlow
urlpatterns = patterns(
”,
url(r’^helloworld/’,
include([
HelloWorldFlow.instance.urls,
url(‘^$’, viewflow.ProcessListView.as_view(), name=’index’),
url(‘^tasks/$’, viewflow.TaskListView.as_view(), name=’tasks’),
url(‘^queue/$’, viewflow.QueueListView.as_view(), name=’queue’),
url(‘^details/(?P<process_pk>d+)/$’,
viewflow.ProcessDetailView.as_view(), name=’details’)],
namespace=HelloWorldFlow.instance.namespace),
{‘flow_cls’: HelloWorldFlow}),
#url(r’^flows/’, include(viewflow.urls)),
url(r’^admin/’, include(admin.site.urls)),
url(r’^accounts/login/$’, ‘django.contrib.auth.views.login’, name=’login’),
url(r’^accounts/logout/$’, ‘django.contrib.auth.views.logout’, name=’logout’),
)
3.3 create demo/celery.py
import os
from celery import Celery
from django.conf import settings
os.environ.setdefault(‘DJANGO_SETTINGS_MODULE’, ‘demo.settings’)
app = Celery(‘tests’)
app.config_from_object(‘django.conf:settings’)
app.autodiscover_tasks(lambda: settings.INSTALLED_APPS)
3.4 create demo/helloworld/flows.py
from viewflow import flow
from viewflow.base import Flow, this
from viewflow.contrib import celery
from . import models, views, tasks
class HelloWorldFlow(Flow):
process_cls = models.HelloWorldProcess
start = flow.Start(views.CreateRequestView)
.Next(this.approve)
approve = flow.View(views.ApproveRequestView)
.Next(this.is_approved)
is_approved = flow.If(lambda p: p.approved)
.OnTrue(this.send)
.OnFalse(this.end)
send = celery.Job(tasks.send)
.Next(this.end)
end = flow.End()
3.5 edit demo/helloworld/models.py
from django.db import models
from viewflow.models import Process
class HelloWorldProcess(Process):
text = models.CharField(max_length=250)
approved = models.BooleanField(default=False)
3.6 edit demo/helloworld/tasks.py
from demo.celery import app as celery_app
from viewflow.flow import flow_job
@celery_app.task()
@flow_job()
def send(activation):
print(activation.process.text)
3.7 edit demo/helloworld/views.py
from django.views import generic
from viewflow import views as flow_views
class CreateRequestView(flow_views.StartViewMixin,
generic.UpdateView):
fields = [“text”]
def get_object(self):
return self.activation.process
class ApproveRequestView(flow_views.TaskViewMixin,
generic.UpdateView):
fields = [“approved”]
def get_object(self):
return self.activation.process
Step 4. Start the Application Server
Run the following Command:
./manage.py createsuperuser –username=admin –email=admin@admin.com
( setup admin password )
./manage.py makemigrations
./manage.py migrate
Start the following celery in another virtual env
celery -A demo worker -l info
Start the application server:
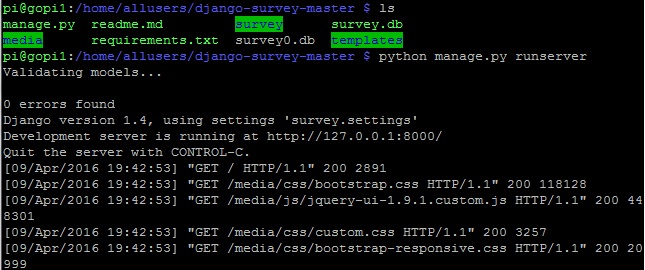
./manage.py runserver
Step 4. Run the Application from browser
Admin Logon
http://127.0.0.1:8000/admin/
WorkFlow Application Logon
http://127.0.0.1:8000/helloworld/
Step 5. Screen Dump Example of running the WorkFlow Application
Reference Document Link:
http://viewflow.io/
http://docs.viewflow.io/material_admin.html
https://pypi.python.org/pypi/django-viewflow


