Connect to Antpool
1.Login:https://www.antpool.com/
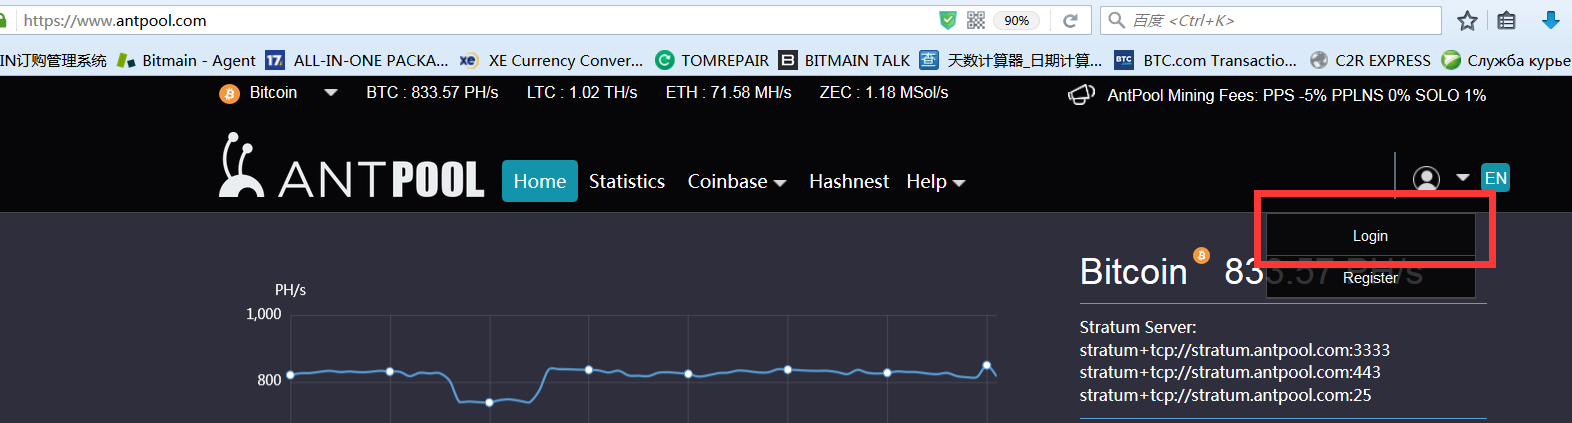
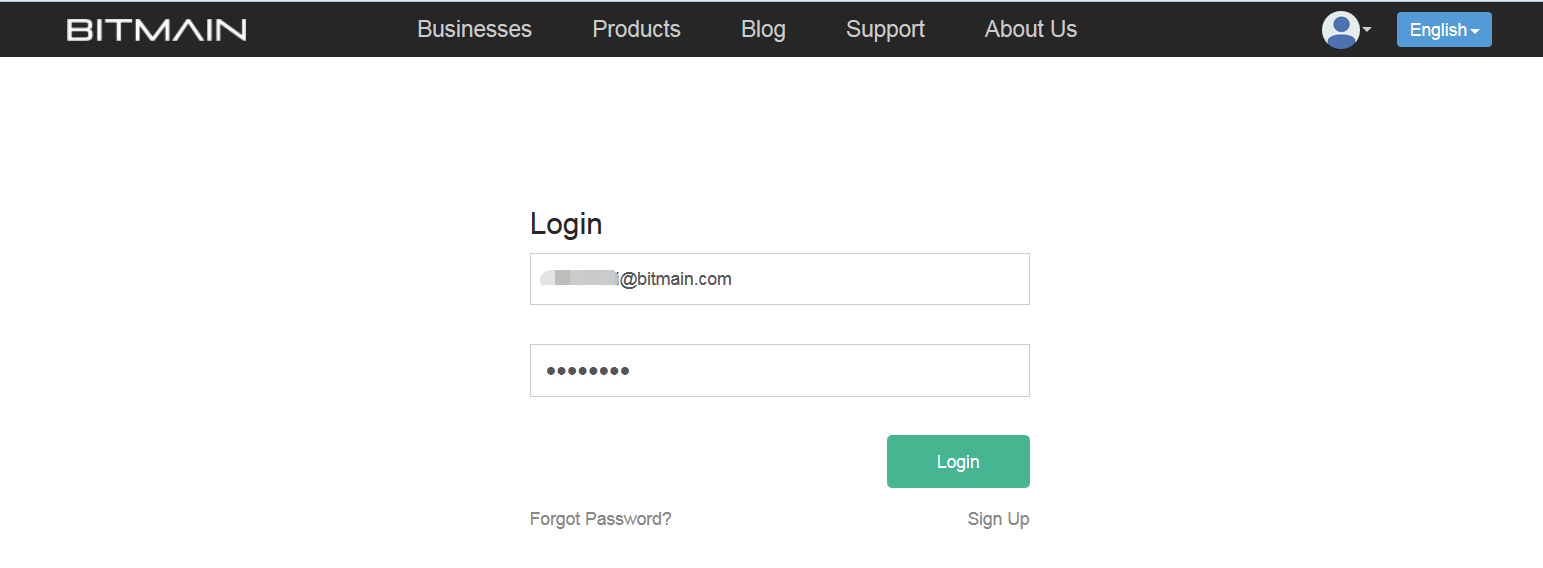
2. Enter your User ID and password for Bitmain.com to log into Antpool or register a new account.
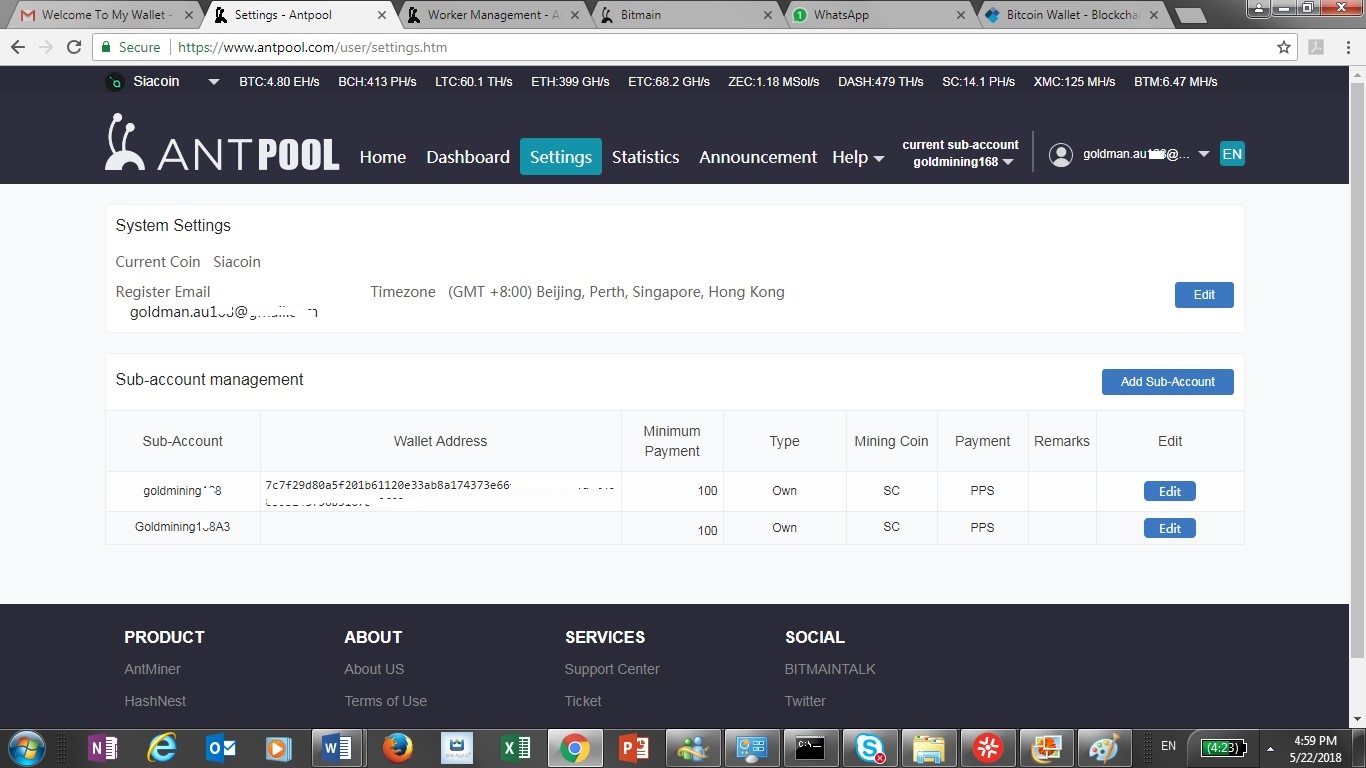
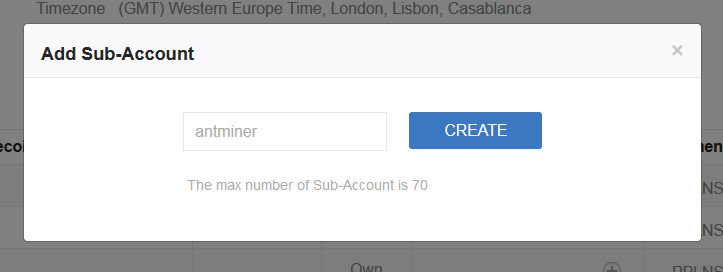
3. Click the “Bitcoin”at the upper left of the page. Go to the Settings tab and add a Sub-Account via the button on the right.
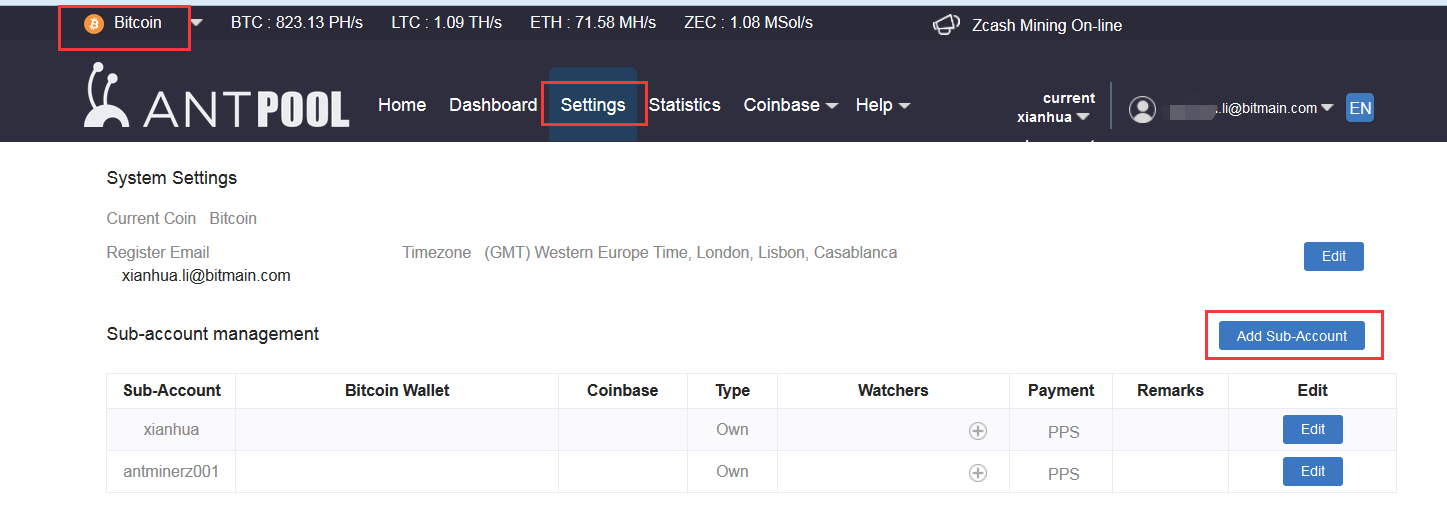
Sub-account must contain only the letters or numbers
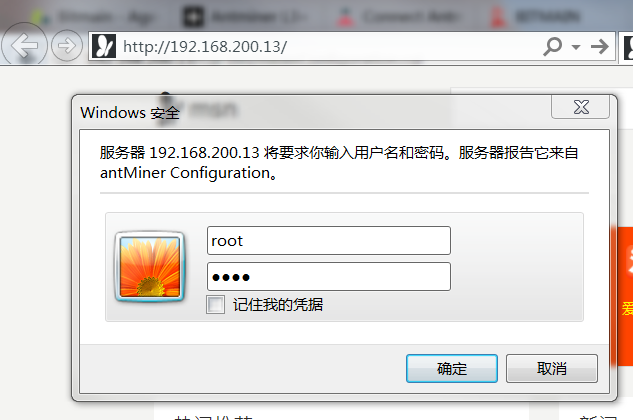
4. Enter the default IP address of the ANTMINER – Go to the login page, enter the user ID: root, password: root.
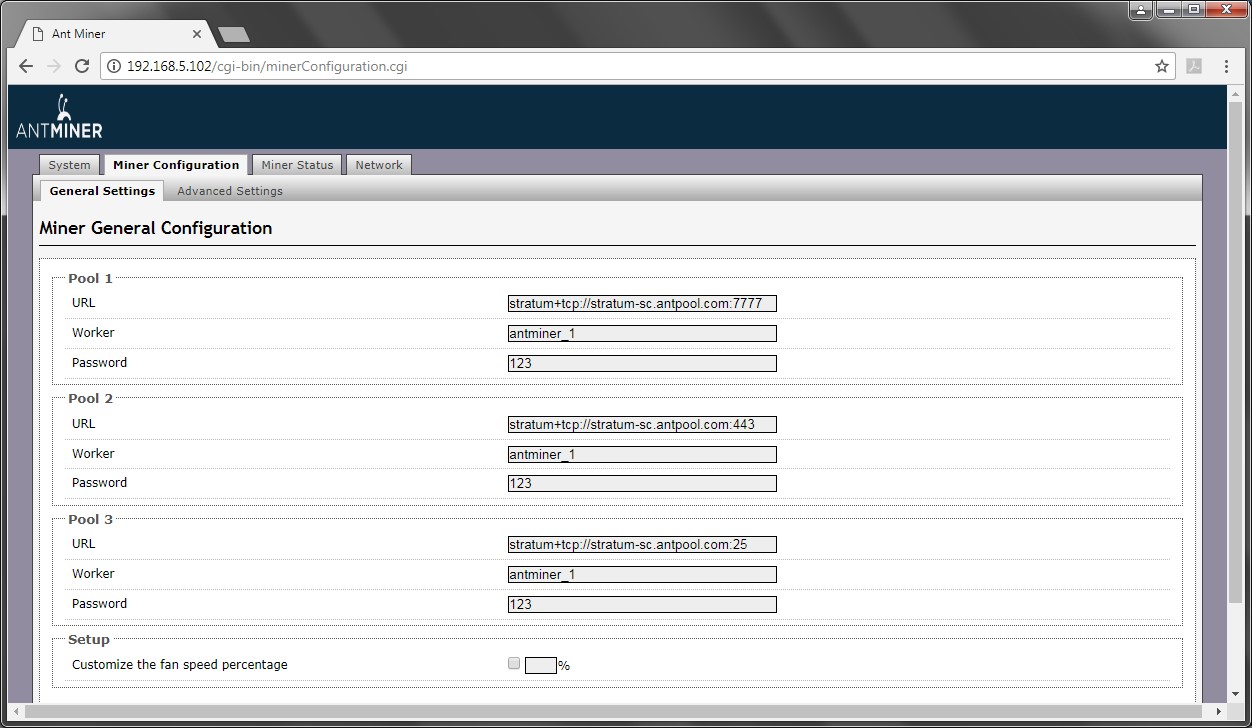
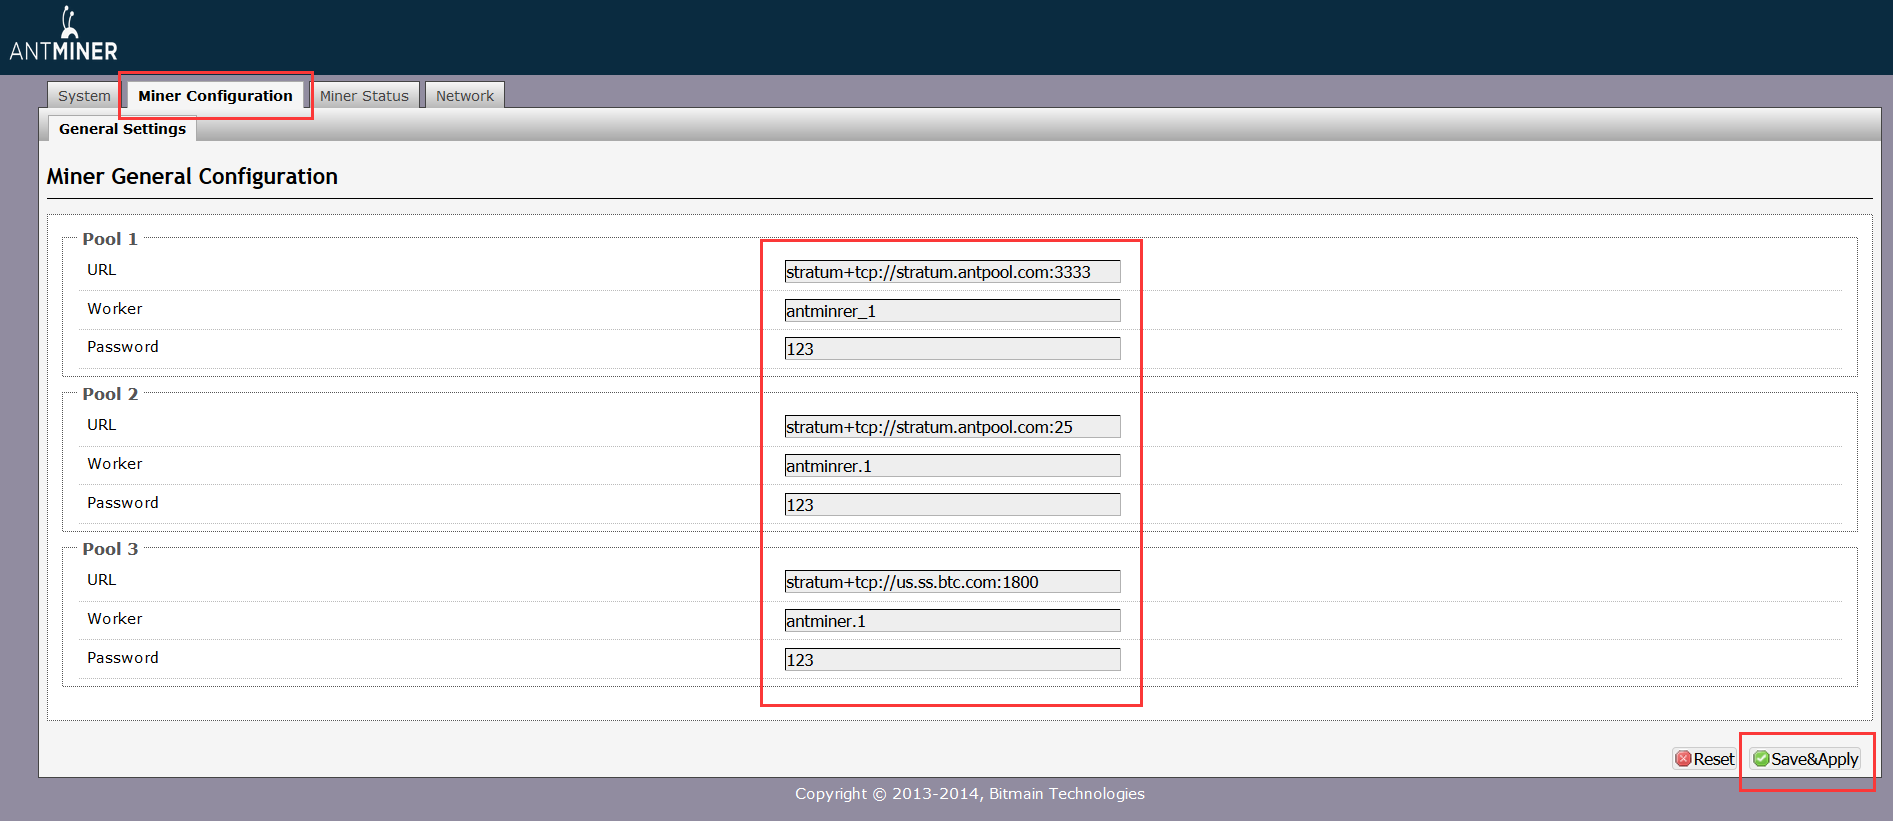
5. Click Miner Configuration, you can fill in 3 groups of mining pool. If the first group is dead, then, it will automatically pointed to the second group. You could fill first 2 groups with Antpool, the third one with BTC.com.
Below is the configuration of Antpool:
stratum+tcp://stratum.antpool.com:3333
stratum+tcp://stratum.antpool.com:443
stratum+tcp://stratum.antpool.com:25
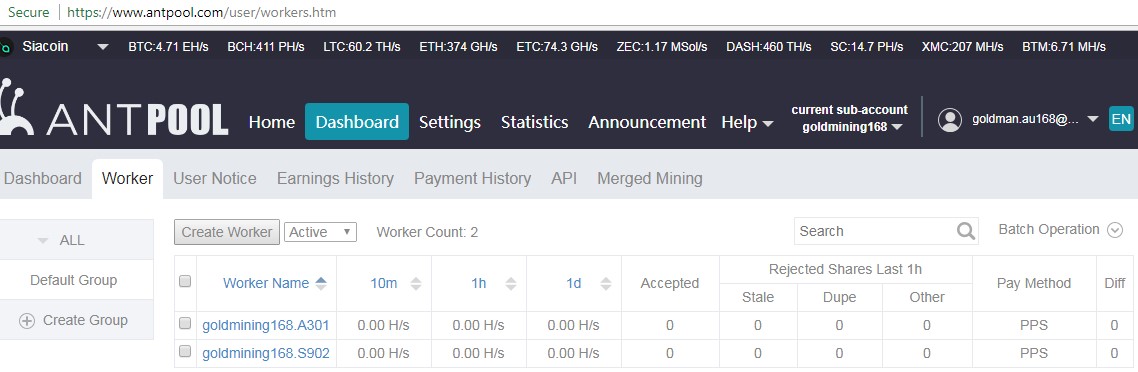
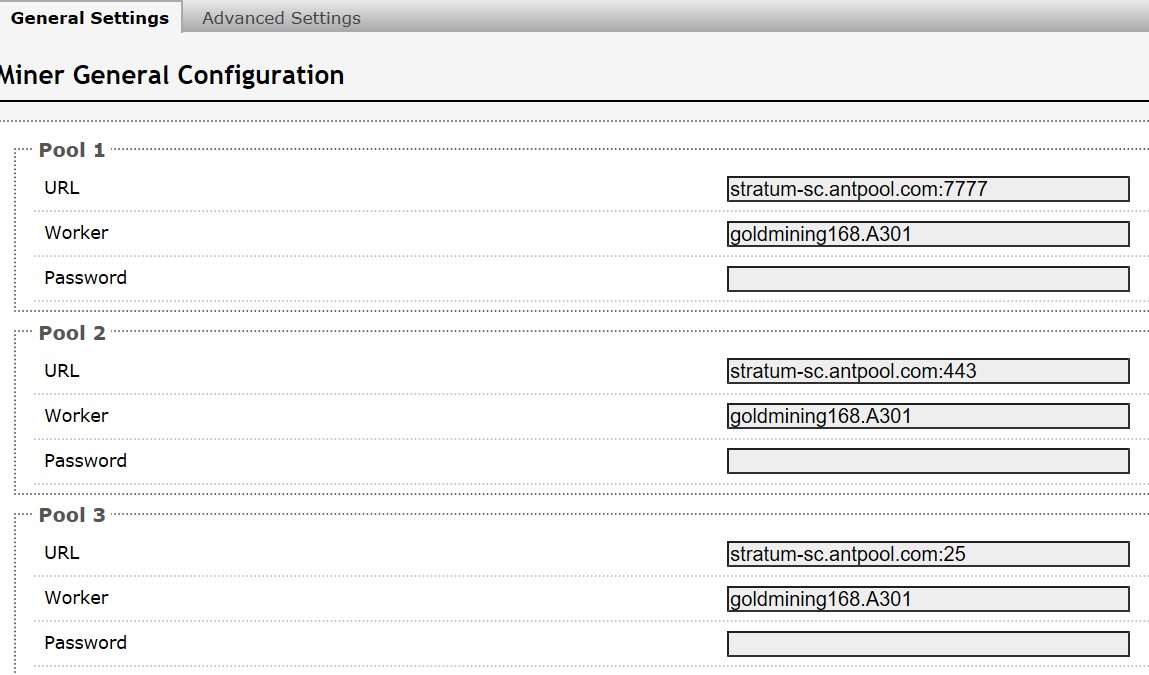
Worker Format: sub-account.miner name
Example: If your sub-account is “antminer”, then your miners could be set up as antminer.1, antminer_1, antminer.2, etc. The miner order will be sorted by the miner name.
Password: (Blank). if you change addresses in bulk, fill it as 123.
Click Save & Apply to mine, the miners will be restart.
Connect to BTC.com
Account Registration
1. Login the home page: https://pool.btc.com
2. Click the “Sign Up Now ” button:

3. Complete the informtaion required and create a new account:

Sub-Account Configuration
1. Click the user name on the top right and choose create sub-account:

2. Fill the blanks and complete creating sub-account:

Miner Configuration
1. Node Selection
There is network delay when users connecting miners to different nodes in different area. Selecting the nearest nodes can provide the most stable connection.
North China Mining Address
    stratum+tcp://cn.ss.btc.com:1800
    stratum+tcp://cn.ss.btc.com:443
    stratum+tcp://cn.ss.btc.com:25
South China Mining Address
    stratum+tcp://us.ss.btc.com:1800
    stratum+tcp://us.ss.btc.com:443
    stratum+tcp://us.ss.btc.com:25
America Mining Address
    stratum+tcp://us.ss.btc.com:1800
    stratum+tcp://us.ss.btc.com:443
    stratum+tcp://us.ss.btc.com:25
Europe Mining Address
    stratum+tcp://us.ss.btc.com:1800
    stratum+tcp://us.ss.btc.com:443
    stratum+tcp://us.ss.btc.com:25
2. Miner Setting
Format: sub-account.miner name
Example: If your sub-account is “btcminer”, then your miners could be set up as btcminer.001, btcminer.002, etc. The miner order will be sorted by the miner name. Password: (Blank). if you change addresses in bulk, fill it as 123.
3. Miner Conection Setting
Type the IP address of miners into the address bar with a web browser under the local area network. The default account is: username ‘root’, password ‘root’.

Sub-Account Management
1. After signing up on BTC pool, uses can establish multiple sub-accounts for different needs.
Click the current sub-account on top right corner:

2. Users can edit every sub-account on this page, such as modifying address and setting alert:

Click “settings” button on top right of the website, you can modify your account and address as follows:

Payment Confirmation
Payment Time
BTC Pool settles all the earnings of last day at UTC 00:00 and sends the payment in 2 hours.
Confirmation Time
The confirmation of TX takes time on Bitcoin Network. The time could be 1 minute or up to 2 hours, which depends on the network status. BTC Pool promises that users receive the payment in the shortest time.